


The administrative setup in Resos booking system
In this article
This guide gets you ready to manage the administrative setup on your Resos profile yourself. All of the settings below sit under Menu → Settings & add-ons.
How to get bookings
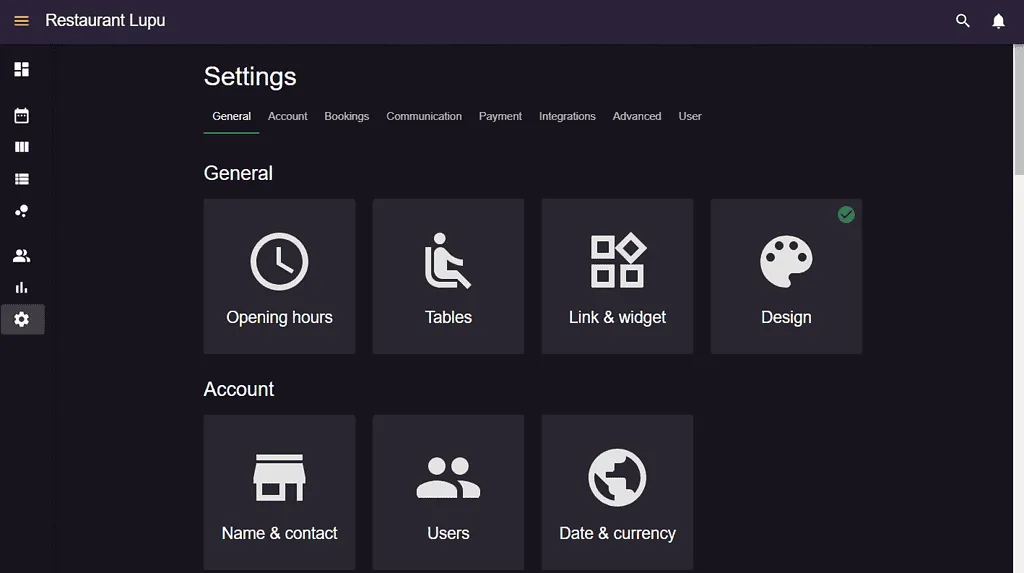
With your opening hours, areas and tables in place, the next step is to put the booking system on your own platforms. Go to Menu → Settings & add-ons → General → Link & widget.
Add a booking link to your platforms. Customize your booking page subdomain, then copy the link onto your social media profiles and website.
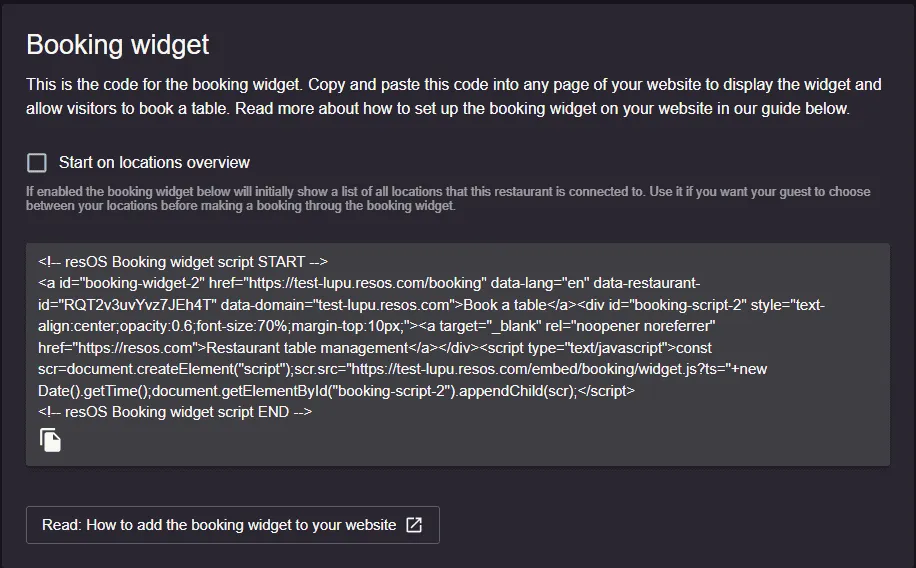
Add a booking widget to your website. Use the widget code to embed booking on your own site. Read more here about how to do that.
If you want a link that opens on one event rather than your whole booking page, set the event up as an experience and use its own share link. Experiences is a paid add-on. See how to set up and share Experiences.
Changing your booking page domain later does not break the links you already shared. Resos sets up a redirect from the old address to the new one automatically, so an old booking link, and a widget snippet with the old domain in it, still reach your booking page. See change your restaurant name and booking domain.
To switch the booking link and widget off, go to Menu → Settings & add-ons → Bookings → Managing bookings → New online bookings → Disable booking page & widget.
Users
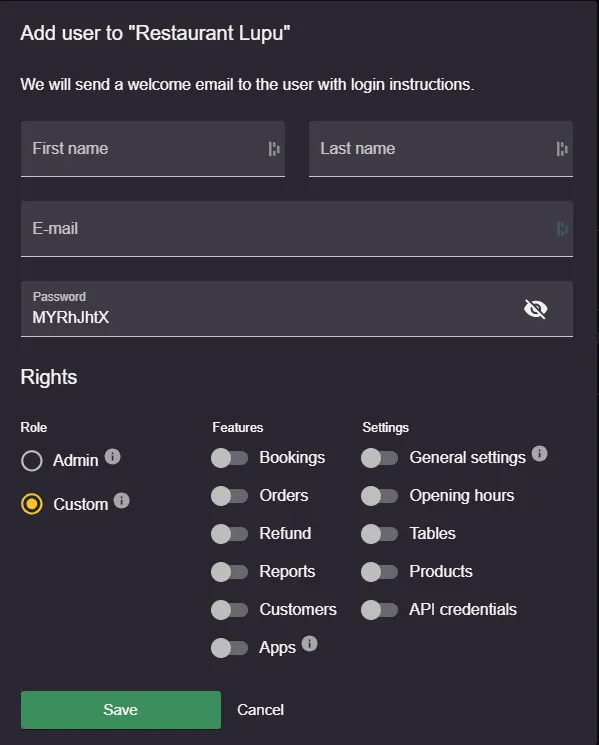
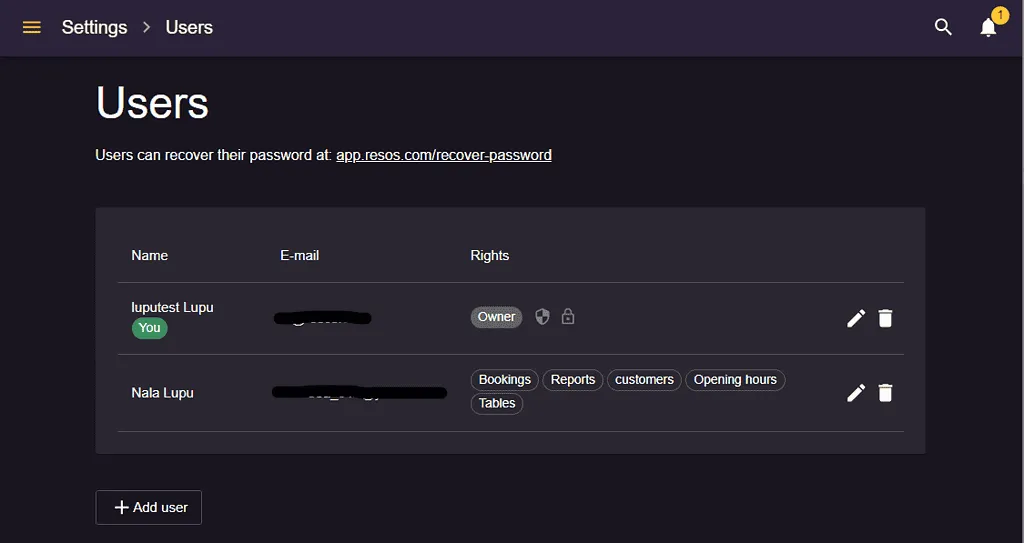
Under Users (Menu → Settings & add-ons → Account → Users) you can create users who log in with their own account. Only the owner and admins see this section. The owner gives the other users their rights, so some users may not reach all parts of the system.
See how multiple users, access rights and synchronized devices keep the team on the same live booking data.
Users also make it clear who handled which booking: the system logs who messaged the guest, who accepted it, and who changed its details, such as its time, its number of guests or its tables. See see who changed a booking and when.
Time zone
Set your restaurant’s time zone under Menu → Settings & add-ons → Account → Date & currency → Time zone. It is a full list of time zones (for example “Europe/London”), not just a UTC offset, so daylight saving is handled automatically and there is nothing to adjust twice a year.
The time zone is not just a display setting. It decides which calendar day and which opening-hour window a given moment falls into, so it drives booking availability itself. Confirm it is correct as part of your initial setup, before you take live bookings.
If you change it on a restaurant that already has reservations, contact us at hi@resos.com first. Every booking is stored as a fixed moment in time, and the calendar and bookings list show it in whatever time zone the restaurant is set to, so existing reservations do not move: they stay at the same real moment and are shown at a different clock time. A 19:00 booking reads 20:00 after a move one hour east, in the day view, in the bookings list, on the printed bookings list and in any confirmation or reminder sent from that point on. Messages already sent still quote the old time, so check the dates you already have bookings on and tell those guests which time applies.
Billing
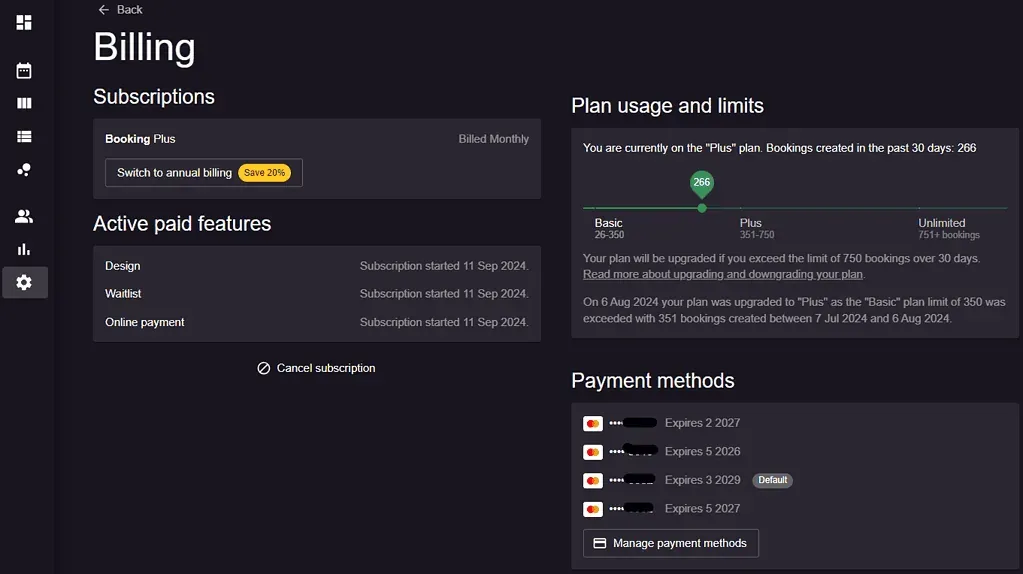
Click Billing under Settings & add-ons → Account for a full overview of your invoices, the amount paid per period and the status of each one.
You can also see your booking plan, switch to annual billing (if you are paying monthly), pause your subscription for your off-season, cancel your subscription, and add, edit or delete your payment information under Manage payment methods.
The billing topics themselves live in their own guides: how Resos pricing works for the plans and the yearly discount, how add-on billing and free trials work for what an add-on adds to your invoice, pause your subscription for a seasonal closure for the off-season, and failed payments and how to fix them for which cards we accept and how to change one.
On the right side of this section you can keep track of your plan’s limit, its upgrades and how many bookings you have in a 30-day cycle. Use it to check you are on the right plan, and ask us if you want to move down.
Find and download your invoices
Your invoices are listed in the Invoices section at the bottom of Menu → Settings & add-ons → Account → Billing. Only the owner and admins can open it. To save one, click the receipt icon on the invoice line, tooltip Show invoice & receipt. An invoice that is still unpaid shows a Show & pay invoice button in the same place instead. Either one opens the invoice on its own page in a new tab, where you can download the PDF.
Subscription fees are charged automatically at the start of each billing period, for the period ahead, and the invoice appears in the Billing section at the same time. We do not email invoices from Resos and there is no monthly invoice subscription, so download them from the Billing section.
Tip: Export the data and download the invoices you need before you cancel. If you can no longer get into the account afterwards, write to us from the account email and we will help.
Get an invoice re-sent
If you cannot reach an invoice yourself, for example after canceling, write to hi@resos.com from the email address registered on the restaurant account and tell us which period you need. We will send you a copy.
Company name, address and VAT number on your invoices
An invoice is generated from the company details held on your account at the moment it is issued. Keep those details up to date under Menu → Settings & add-ons → Account → Name & contact, where you also enter your legal company name and VAT number.
Corrections only affect invoices issued from that point on, so ask us for a corrected copy if you need one for your accounts. Read the VAT FAQ for how VAT is applied depending on where your business is registered.
Charges your guests pay through Stripe
Prepayments, deposits and no-show fees are processed through Stripe rather than billed by Resos, so no Resos invoice is created for them. The record of those charges sits in your Stripe dashboard. Read how to connect Stripe to Resos.
API credentials
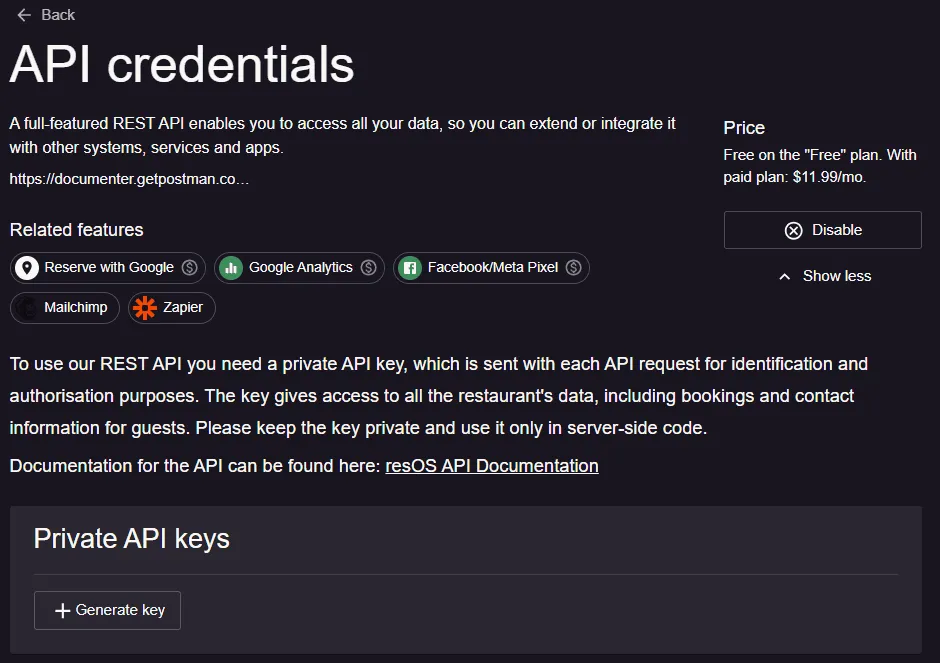
Other systems can talk to Resos through our REST API. That needs a private API key, which reaches all the restaurant’s data, including bookings and guests’ contact details. The API is a paid add-on, so it needs an active paid plan before you can generate a key. Add one under Menu → Settings & add-ons → Integrations → API by clicking Generate key. Read more about this add-on here.
Contact us at hi@resos.com if you need help with your profile.


