


New to Resos
In this article
Our booking system is designed to optimize the processes of your restaurant by simplifying booking management, enhancing guest satisfaction, and driving growth. If you’re new to Resos and are wondering how to get started with your booking system and how to make the most of it, check out this article!
Resos itself is a booking system for guests who already know your restaurant, so pair it with your own channels (your website, social media, Facebook and Instagram, Reserve with Google) to reach new guests. Resos does not list you on a discovery marketplace on its own, though a few opt-in integrations, such as First Table, do connect you to one.
Here are the steps you should follow if you’re a new user and are planning to start taking bookings right away:
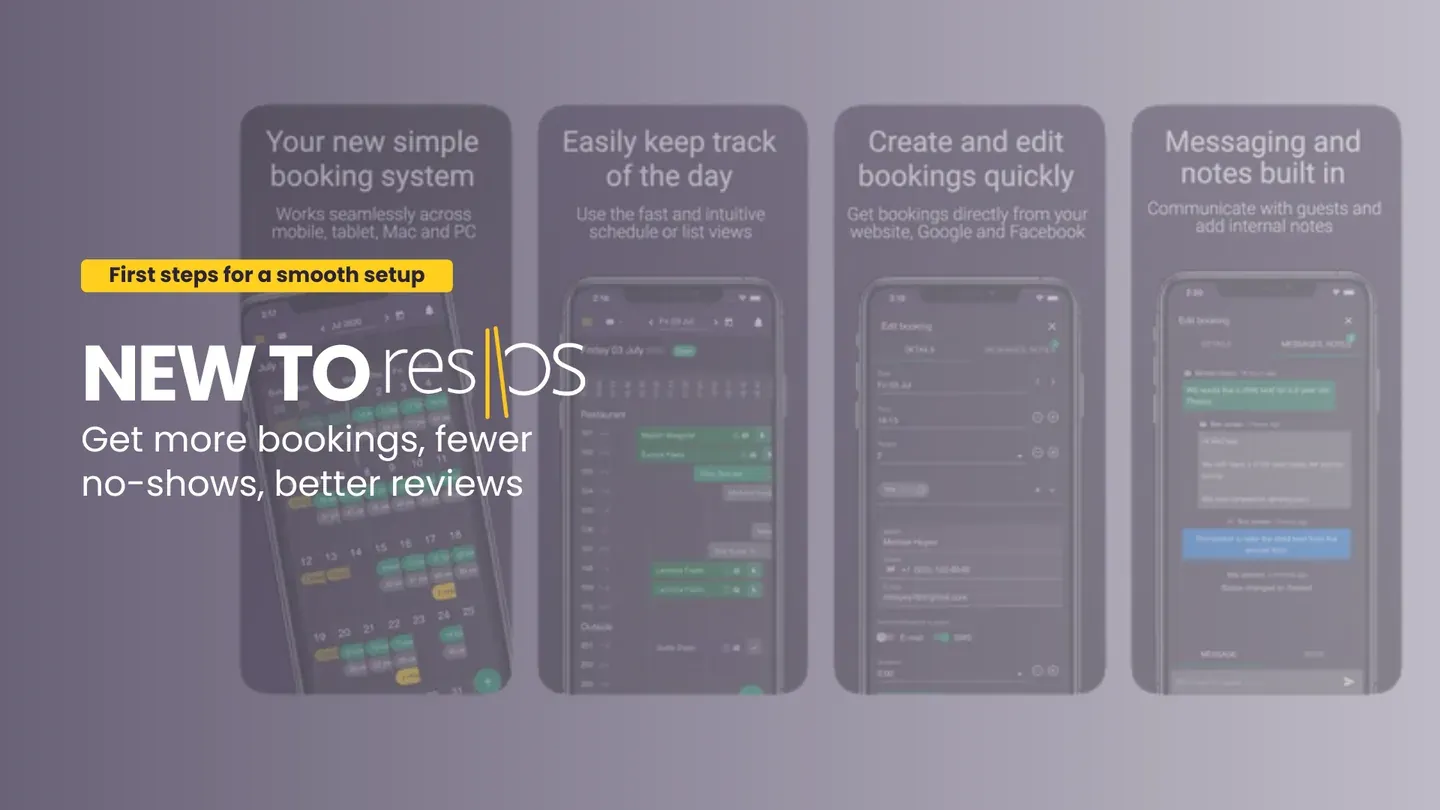
Want a walkthrough first?
You do not need a sales call to get going. Resos is self-serve, so you can create your profile, set it up and take your first booking without talking to anyone. If you would rather have someone show you around before you start, Resos offers a short demo or onboarding call. Ask for one at hi@resos.com, or through the contact form, and our support team will arrange a time with you.
1. Create a profile
First things first, in order to start using Resos, you need to create a profile. If you have multiple restaurants, you can create more Resos profiles. It’s completely free to do so, and you can do that by clicking here. From here, you start the onboarding process right away.
2. The onboarding process
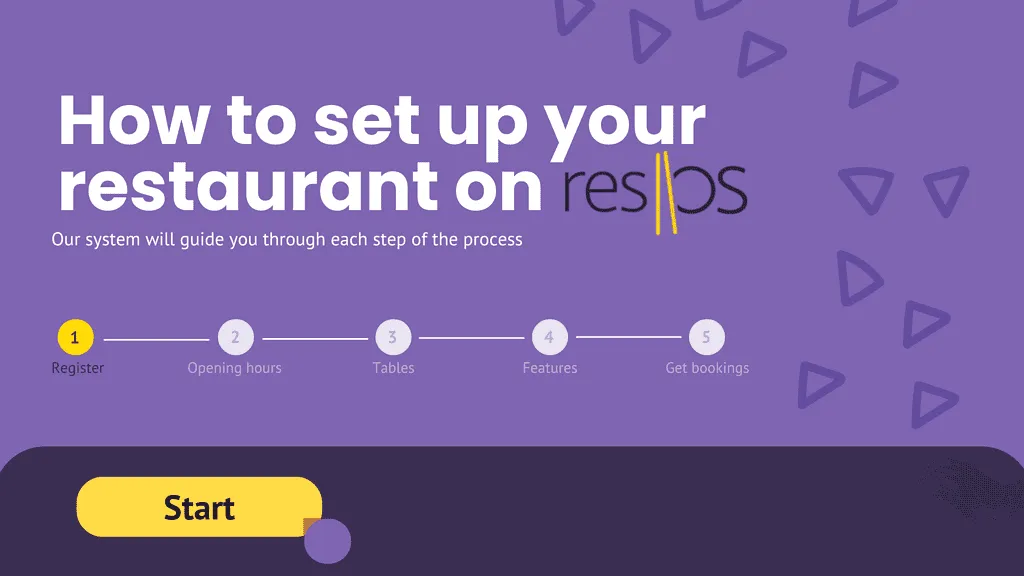
The first step of the onboarding process is to register your restaurant. Once you introduce the name of your restaurant and the city and country it’s located in, if you have a Google Business profile, your restaurant will show up in the database and the system will take the information from your Google profile and add it automatically to your Resos profile. If you don’t have a Google business profile, you can manually set up the profile by following the onboarding steps.
The next step is to add your opening hours, then tables, activate the needed features, and then start receiving bookings straight away by sharing the link for the booking page on your favorite platforms (social media, website, email). It’s super easy to set up your Resos profile so that you can enable bookings right away!
3. Select the right plan
When you create your profile, you start on our Free plan, so you can test the system with real bookings before deciding on a paid plan.
Read more about plans here.
Resos offers plans for every size of restaurant, with paid tiers based on the number of bookings you need each month. Some advanced add-ons (e.g. SMS notifications and Online payments, which prepayment and no-show fees run on) cost extra on top of your chosen plan. Furthermore, the plans can be paid on a monthly or yearly basis. To manage your payment methods, see your plan, and get an overview of the number of bookings you have over a 30-day period, you go to Menu → Settings & add-ons → Account → Billing.
4. Add the restaurant users
Another benefit of using Resos is that you can add as many users to the system as needed by going to Menu → Settings & add-ons → Account → Users. Furthermore, you can give access to these users for the whole profile, or only to certain parts of it. In this part of the system, you can also change the name of the users, email addresses as well as passwords. If you forgot your password or you simply want to reset it, you can use this link.
Only an Owner or an Admin can open the Users page. Every other user you create can be an Admin too, or a Custom user who only reaches the parts of the system you tick for them.
Adding users one by one
Users are added one at a time. There is no bulk add and no CSV upload for staff logins, so an onboarding wave of 20 or 50 people means running through the Add dialog once per person. (Resos does have CSV imports, but they are for bookings and guests, not for staff logins.)
Set aside the time up front. Once everyone is in, you never have to repeat it.
What the new user receives
Resos emails the person as soon as you save. There is no way to hold the email back, schedule it, or add the whole team quietly and announce it later.
- If the email address is new to Resos, they get a mail titled “Your login for [your restaurant name] on Resos” containing their email address and a password. Resos fills in a password for you in the Add dialog, and you can see or change it before you send it. They can change it again after their first login.
- If the email address already has a Resos account (they work at another Resos restaurant, or you are adding them to your second venue), they instead get an invitation titled “You’ve been invited to join [your restaurant name] on Resos”, with a link to accept. Their existing password is untouched, and the link stops working after 7 days.
Pending invitations are listed under Invited users on the Users page, with the date they were sent and the date they expire. There is no resend button: if someone loses the mail, delete the pending invitation from that list and add them again. Trying to invite the same address twice while the first invitation is still valid is refused. If the invitation has already expired, you can simply add them again and Resos replaces it.
Giving one person access to two restaurants
Each restaurant in Resos is its own profile, so a person who works in two of your venues has to be added to both. Use the same email address in both places. Resos recognizes the address and links the second restaurant to the account they already have instead of creating a second login.
They still have to accept the invitation for the second restaurant before it appears for them. Once they have, both venues sit under Menu → Your restaurants at the bottom of the menu, and they switch between them with the same login.
This is separate from the multiple locations add-on, which is about showing guests your other venues in the booking flow. Staff access works the same way whether or not that add-on is on.
5. Start taking bookings
There are multiple ways to start receiving bookings with Resos, such as:
- Use the booking link: you can copy-paste the booking link on different platforms such as your website, your social media profiles, via email, via SMS. Then, your guests click on it and they get redirected to your booking page that looks more or less like this, but can also be customized by enabling the Design add-on.
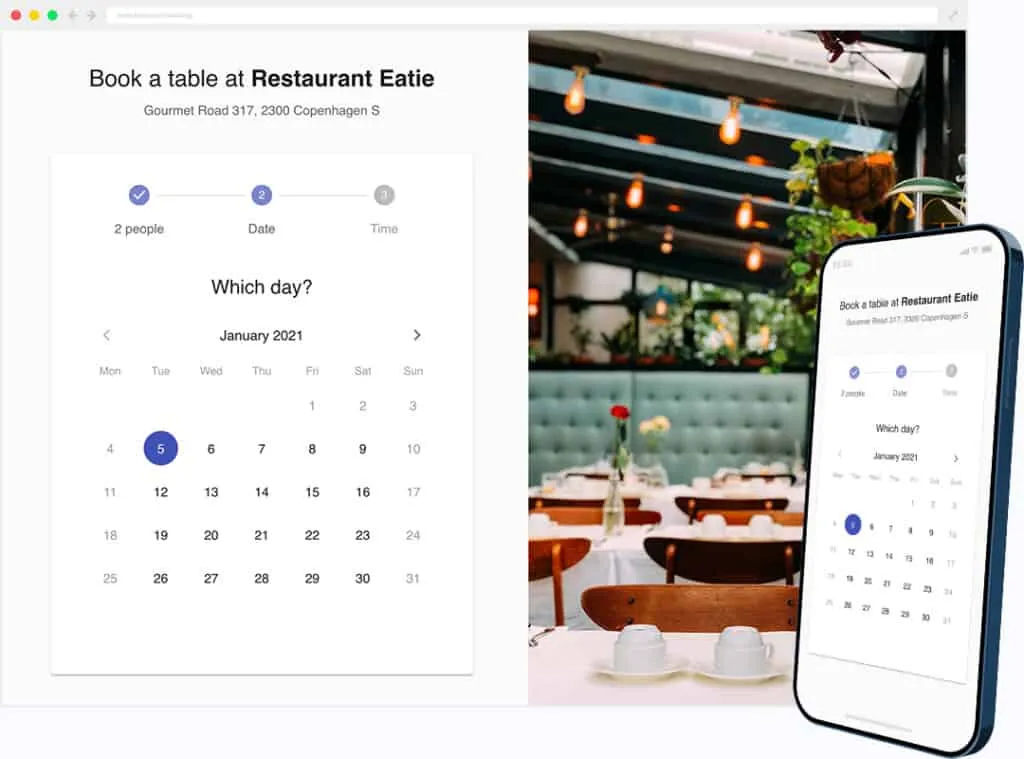
- Use the booking widget: if you don’t want your guests to be redirected from your website to the Resos booking page, you also have the option to add a widget of the booking flow to your website. Here are the instructions to do so.
- Enable the add-on Reserve with Google: connect your Resos profile with your Google business one and get bookings straight through Google. This provides an efficient and quick way for your guests to book for your restaurant. Read more about the add-on here.
6. Manage your bookings
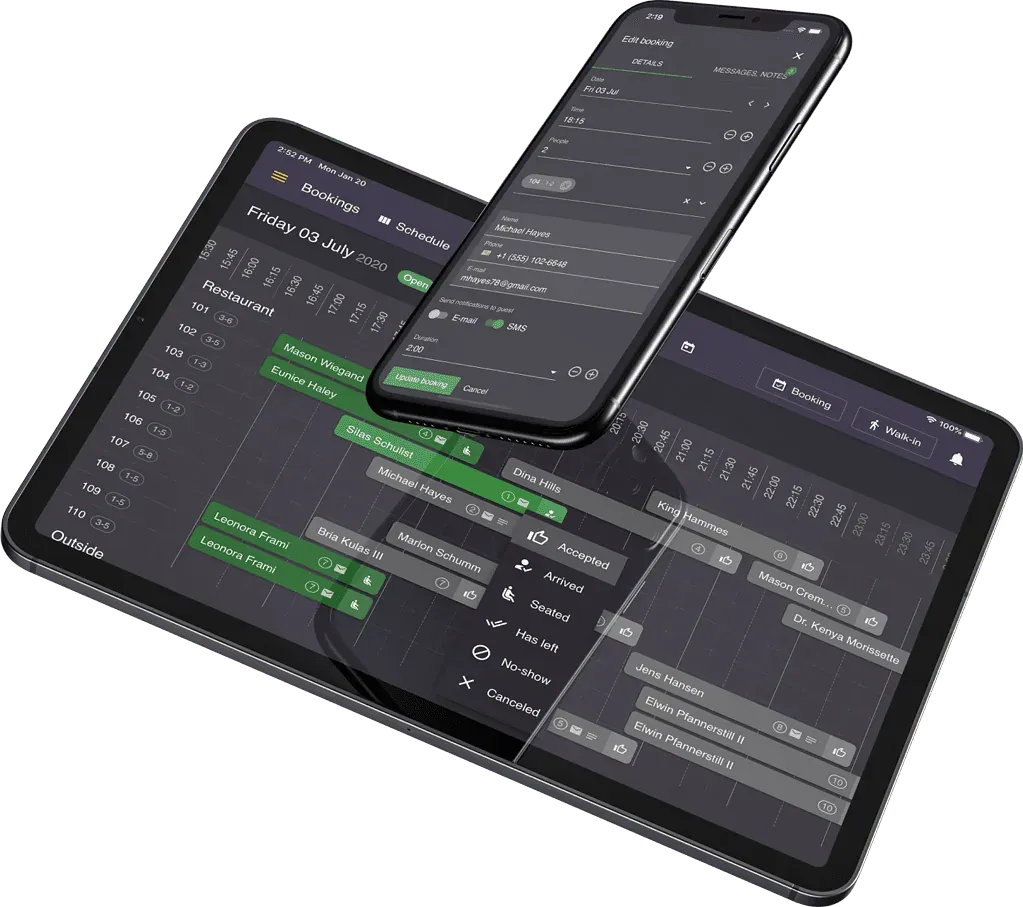
You can easily manage your bookings on Resos by using the Calendar, Schedule, List and Floor plan views. You can find these by clicking on the Menu button in the upper left corner of your profile. No matter if you use the system for online bookings, manual bookings or both, Resos provides a very smooth customizable process for managing your bookings. Moreover, you have the option to use Resos on web browsers (both mobile and desktop), or on your favorite tablet or phone as an app (both IOS and Android).
Our customer success team is always ready to help you before, during, or after setting up your Resos booking system, you simply need to reach out to them at hi@resos.com. You can always check out our help center as well and search through the many articles that can help whenever you have any questions or feel like you’re stuck. Welcome to Resos, and thanks for choosing us!


