


How to set up your Stripe account
In this article
- Video walkthrough
- What is Stripe?
- How to set up your Stripe account
- Can I connect a Stripe account I already have?
- How to disable or disconnect Stripe
- Disable the Online payment add-on
- Disconnect the Stripe account
- What happens to existing prepayments and no-show fees
- When your restaurant changes owner
- Stripe looks complete but Resos does not accept payments
Activate the add-on called Online payment and set up your Stripe account to receive online payments with daily payouts. Stripe is easy, fast, and convenient to use. And here’s how to set it up.
Video walkthrough
Prefer to watch instead of read? This short video covers connecting Stripe and switching on prepayments and no-show fees:
What is Stripe?
Stripe is an online payment platform that will make it possible for you and your restaurant, bar, café, pub, or the like to receive online payments from your guests.
Stripe accepts numerous card-payment methods (as well as wallet and bank payments), which will make it easier for you to charge your guests online while keeping the booking and payment process as easy and satisfactory for your guests (and you) as possible. Payments carry a 2% Resos transaction fee in addition to Stripe processing fees. See transaction fees explained for the add-on subscription cost, transaction fees, and refund terms.
Here, we’ll focus on how to set up your Stripe account in your Resos system, but you can read more about Stripe, its benefits, and fees on our page about Stripe integrations.
How to set up your Stripe account
In order to take online payments by charging prepayments and/or no-shows from your guests, you will need to activate Online payment by going to Menu → Settings & add-ons → Payment → Online payment and then click Activate add-on.
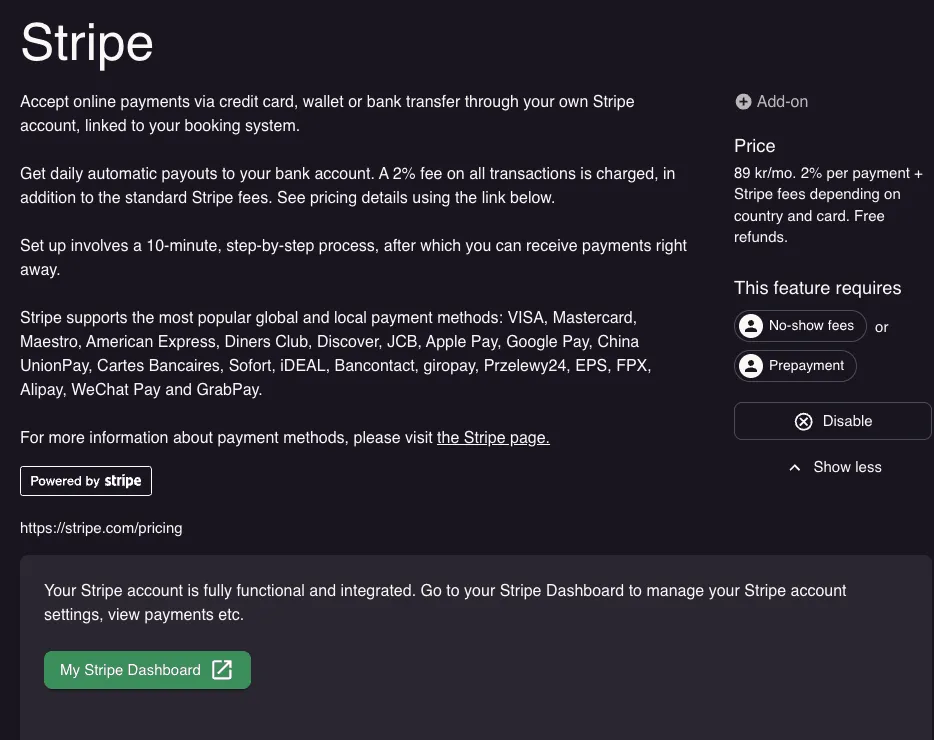
This will take you to the Stripe setup page, where you click Start Stripe setup. The system creates a Stripe account for your restaurant and hands you over to Stripe’s own step-by-step onboarding. The process takes approx. 10 minutes to complete, but you can stop and resume it later if you need to. You will be guided through the entire process, so it’s straightforward and easy to get started. Once your account has been set up, you can start receiving online payments right away.
If you stopped partway, come back to the same page and click Resume Stripe setup to pick up where you left off.
Please note that this integration is a paid add-on if paired with a paid plan. Check out its pricing here.
Can I connect a Stripe account I already have?
Not directly. The setup flow always creates a new Stripe account for your restaurant, so there is no picker for choosing a Stripe account you already use somewhere else. If you already run Stripe for another part of your business, you go through the setup anyway and end up with a second Stripe account dedicated to your bookings.
It is a standard Stripe account, so you get your own full Stripe Dashboard for it. Once setup is complete, the Stripe page in Resos shows a My Stripe Dashboard button that takes you straight there, where your payout history lives.
How to disable or disconnect Stripe
These are two different actions with two very different results, so it is worth knowing which one you want before you click.
Disable the Online payment add-on
Go to Menu → Settings & add-ons → Payment → Online payment, click More to expand the add-on, then choose Disable. This switches the add-on off and stops the subscription for it.
What happens:
- Prepayments and no-show fees are switched off with it, because they both depend on online payment.
- The payment settings on your opening hours are cleared. If you had a no-show fee configured on Friday and Saturday dinner, those settings are removed, not just paused.
- Bookings that were still waiting for a guest to pay lose their pending payment request.
- Your Stripe connection stays in place. If you activate the add-on again later, you do not have to redo the Stripe setup.
Because the opening hour settings are cleared and not remembered, plan to set your prepayment and no-show fee amounts up again when you come back. It is worth writing down your amounts, minimum guest counts, and cancellation policies first.
Disconnect the Stripe account
Go to the Stripe page under Online payment and click Disconnect Stripe account at the bottom. Use this when you connected the wrong Stripe account, or when you need to start the Stripe setup from scratch.
What happens:
- Resos forgets the Stripe account. Online payments stop working immediately.
- The Online payment, prepayment, and no-show fee add-ons stay switched on, and your opening hours keep their payment settings. They simply cannot collect anything until a new Stripe account is fully set up.
- Your Stripe account itself is untouched. It still exists, it is still yours, and nothing is closed on Stripe’s side.
What happens to existing prepayments and no-show fees
Nothing is refunded or canceled automatically when you disable the add-on or disconnect the account. Payments already collected stay in your Stripe account and payouts continue as normal.
The important part is the split: payments taken through the old Stripe account can only be refunded from the Stripe Dashboard of that old account. Once Resos is pointed at a different Stripe account, the refund button in Resos works for the new account only. So before you disconnect, deal with anything still open: outstanding refunds, deposits you expect to return, and bookings that are waiting on a guest’s payment.
Cards saved for upcoming no-show fee bookings belong to the old Stripe account too. After a disconnect, those bookings are no longer chargeable through Resos: the charge attempt fails, the booking is marked with a failed payment, and we email you so you can follow it up. Ask affected guests to book again once the new account is live if you still want the cover.
When your restaurant changes owner
Resos cannot move a Stripe account from one owner or company to another, so the Resos side and the Stripe side are handled separately. See changing restaurant owner and your Stripe account for what to do on each side, and what to settle before you disconnect.
Stripe looks complete but Resos does not accept payments
Resos does not check your Stripe account on demand. It stores the status Stripe last reported, and Stripe reports it when your account changes. That is why a verification you just finished can take a moment to show up on our side, and why the Resos page can still say the setup is unfinished after Stripe’s own checklist looks clean.
If that happens:
- Go to Menu → Settings & add-ons → Payment → Online payment → Stripe. If you see Resume Stripe setup, click it. This reopens Stripe’s onboarding for your existing account and shows exactly which items are still missing. Very often there is one more step there that Stripe’s own dashboard summary does not surface.
- If there is no Resume Stripe setup button, your onboarding is already submitted and the blocker sits with Stripe. Look for the warning Stripe payments currently unavailable, which means the account is connected but Stripe is not letting it take charges yet. The Fix my Stripe account link goes to your Stripe Dashboard, where the outstanding requirement is listed.
- Complete whatever Stripe asks for, then reload the Resos page. The status updates once Stripe confirms the change.
If your Stripe account stops being able to take payments, Resos also emails you directly, with the subject “Action Required: Stripe payments disabled for [your restaurant name]”. Treat it the same way: open your Stripe Dashboard, complete the outstanding requirements Stripe lists, and the status in Resos updates once Stripe confirms the change.
If everything on Stripe’s side is genuinely finished and Resos still will not take payments, email us at hi@resos.com with the email address on your Resos account so we can check the connection for you.
Read also about how you can minimize no-shows with pre-payments and deposits.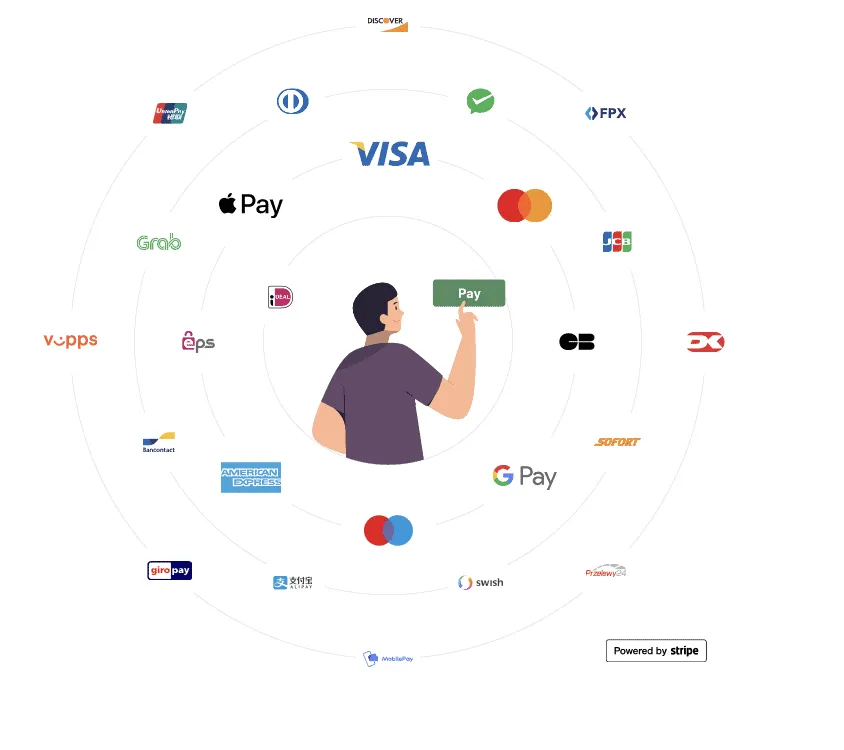
If you’d like help setting up your Stripe account, advice on the best way to set up online payments, or if you have any questions whatsoever, please just send us an email at hi@resos.com!


