Since we started using Resos, we have found the flexibility of the product and customer support incredible. It's very user friendly and easy to manage in-house which is a huge plus!
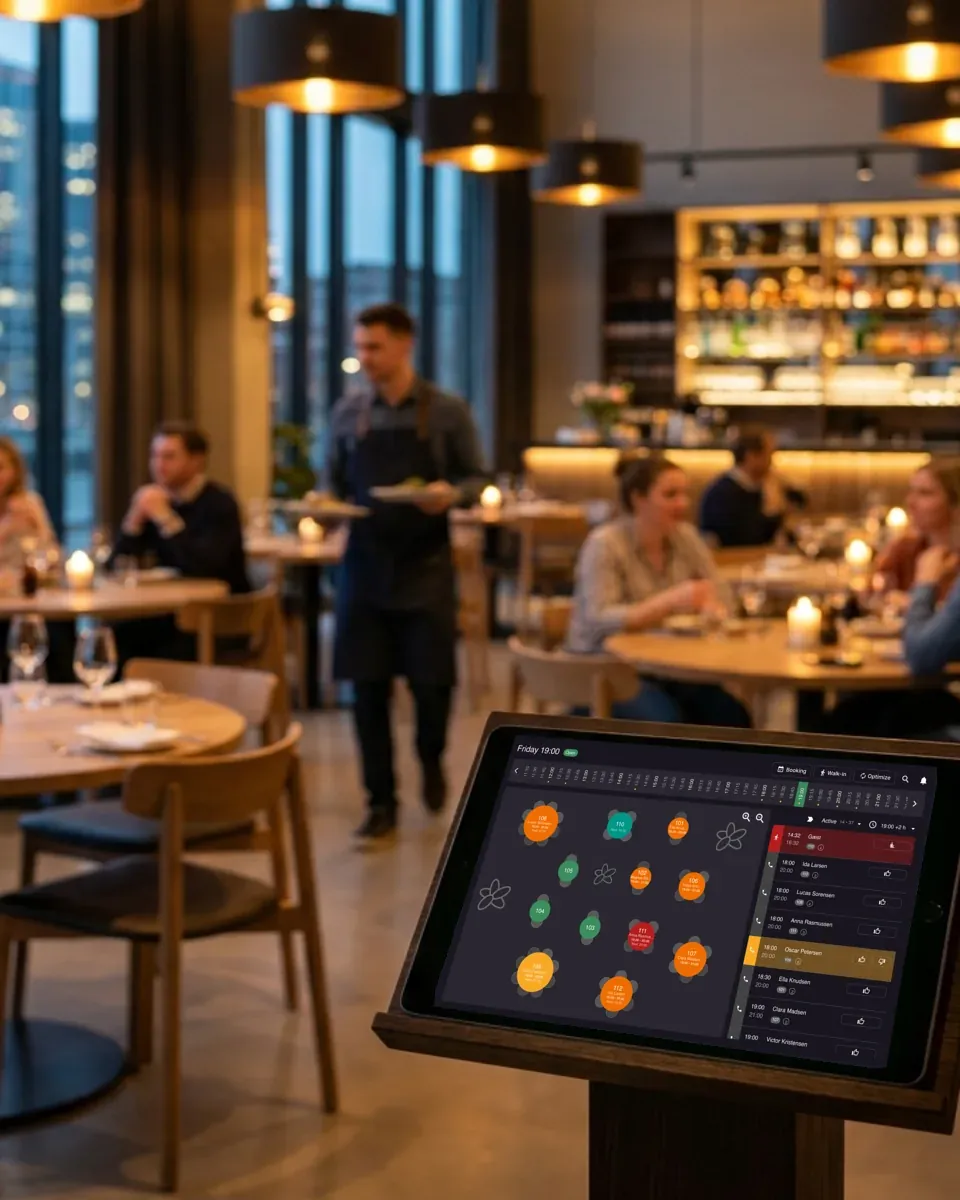
Resos is a restaurant waitlist system your team runs from inside the same screen as your bookings. Sign walk-ins in with a tap, cap the queue at a size you can actually seat, and decide for yourself which party fills the freed table when a cancellation lands. One screen for reservations, walk-ins, and waitlist parties means your floor manager always knows what is next without juggling a clipboard at the door.
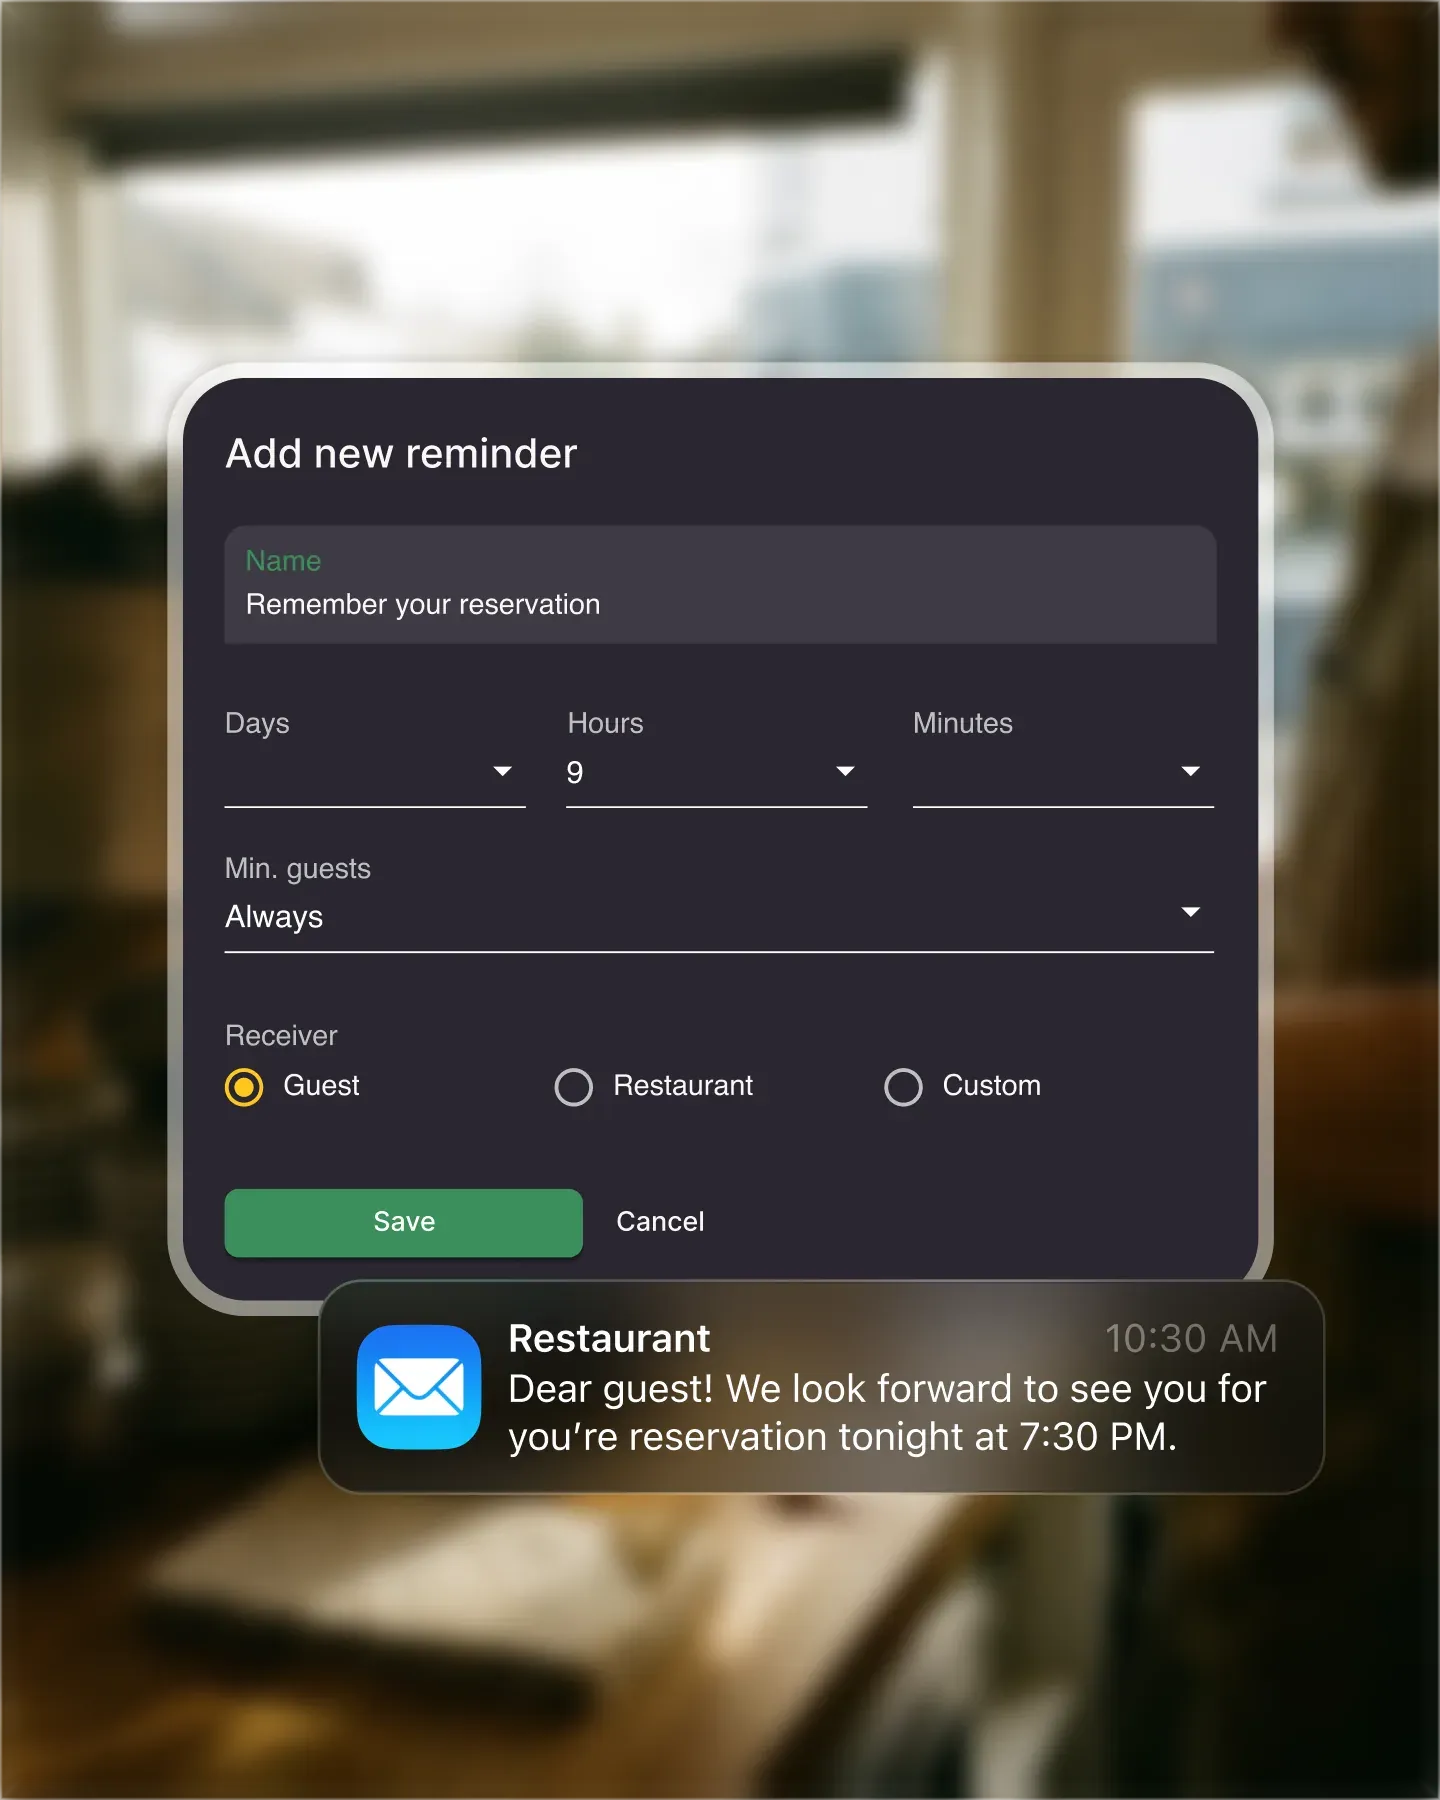


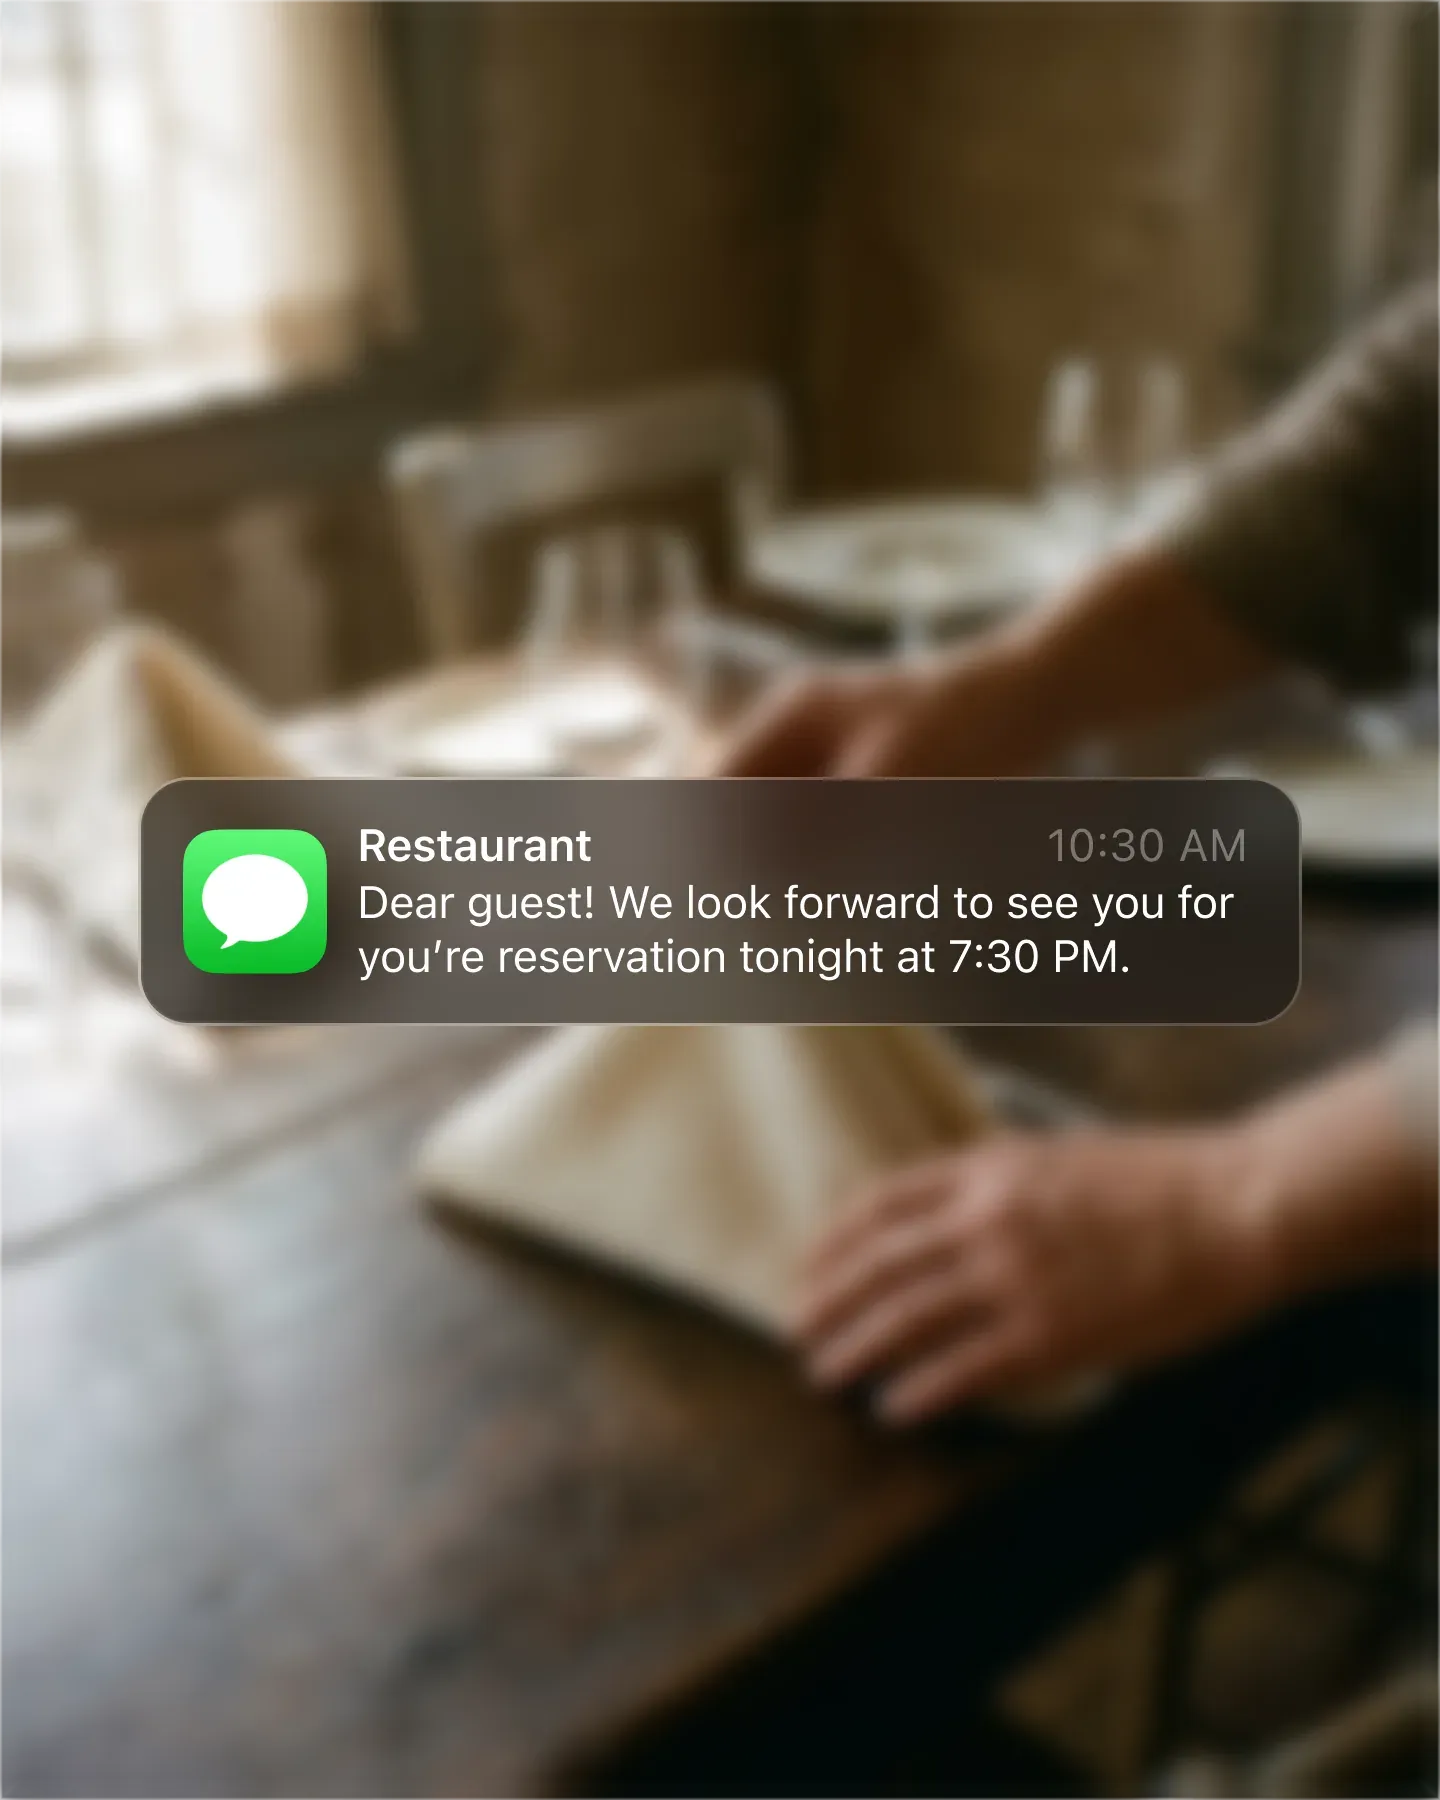
Name, party size, phone number, tap save. The walk-in is on the list and your host is back to greeting the next guest. Notes can be added for context (high chair, allergies, celebrating an anniversary) so a colleague picking up the shift mid-service has everything they need to keep things moving.
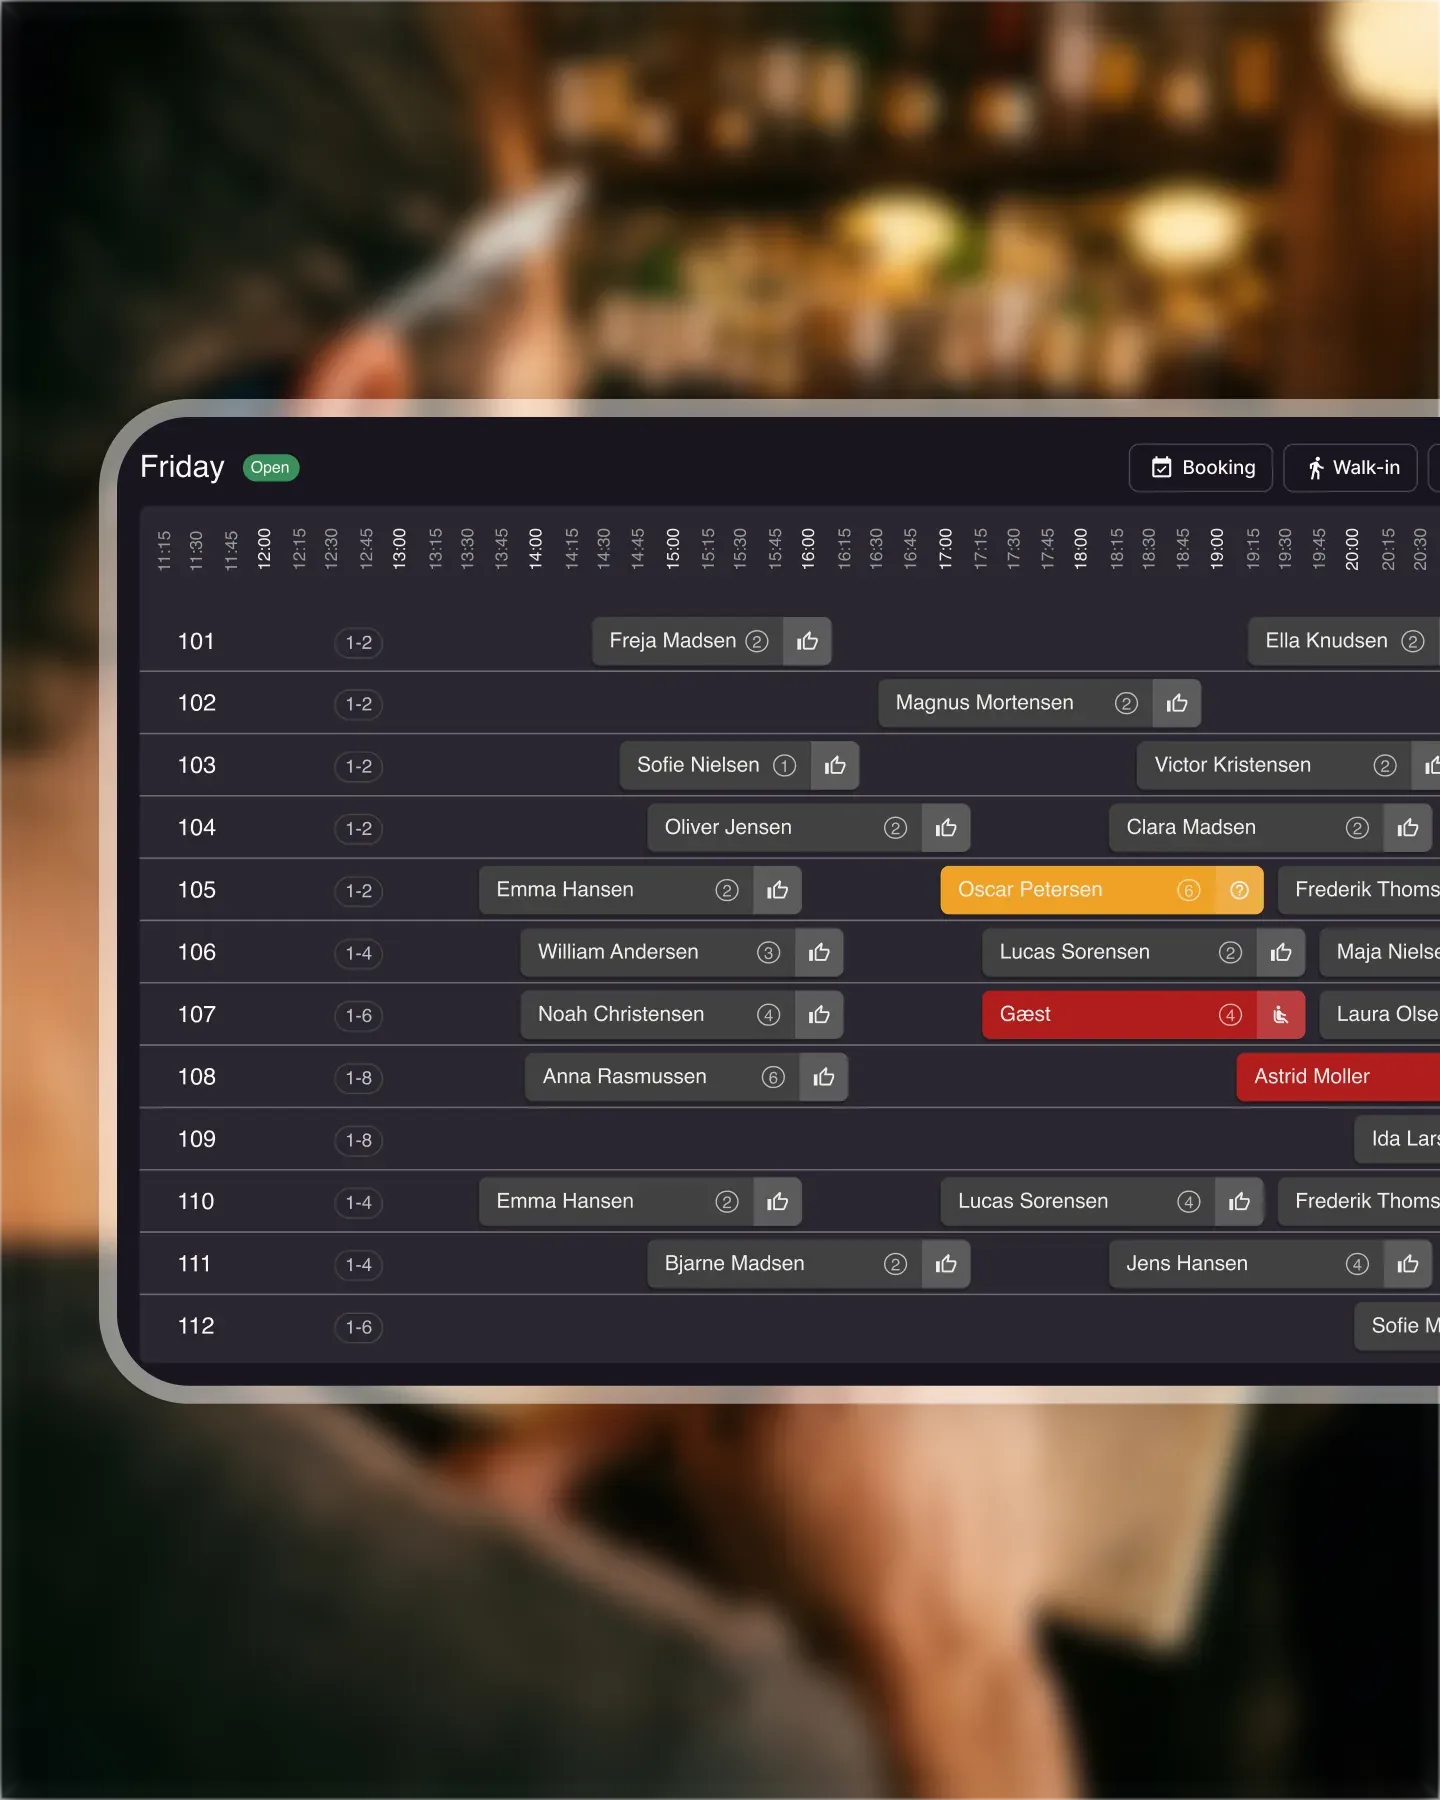
The waitlist sits next to your bookings in the same overview. Your floor manager sees the 7:45 four-top that has not arrived, the walk-in couple hoping for 20 minutes, and the 8pm reservation in one glance. Gaps stop being missed because the whole evening is visible from one screen.
When a table opens up, you decide who fills it. The system does not auto-assign a two-top to a four-top on a Saturday at 8pm just because they are next in line. Match the party to the slot by size, timing, and feel, then convert with one click. The waitlist entry becomes a real booking with notes carried over.
Decide the cap per service so the queue does not grow longer than you can actually seat. Choose first come first served on a slow night or the best-fit party on a busy one. The rules are yours to set and yours to break in the moment, because real service rarely follows a strict algorithm.
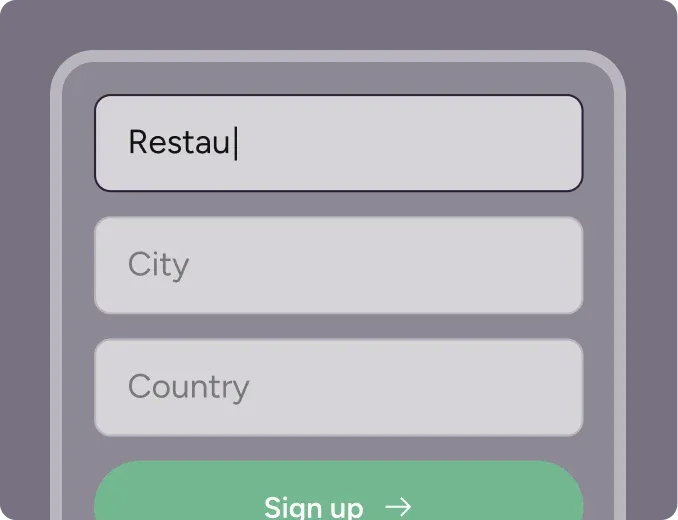
Create your account in seconds. No credit card required.
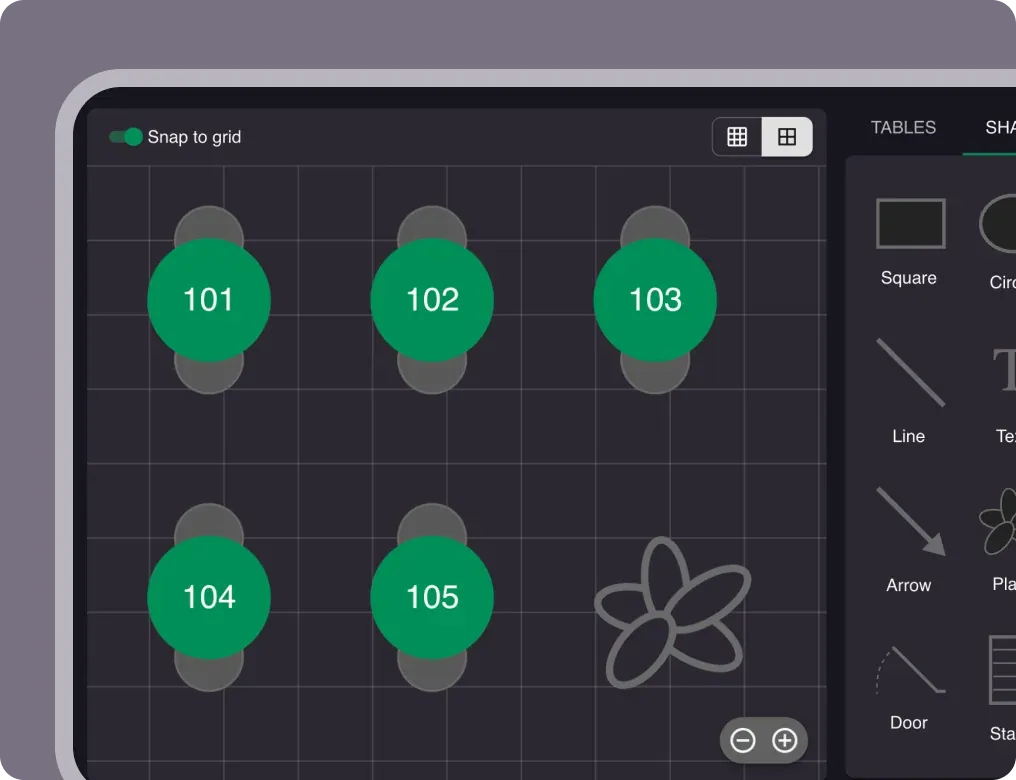
Add your opening hours, areas, and floor plan using our easy drag-and-drop editor.
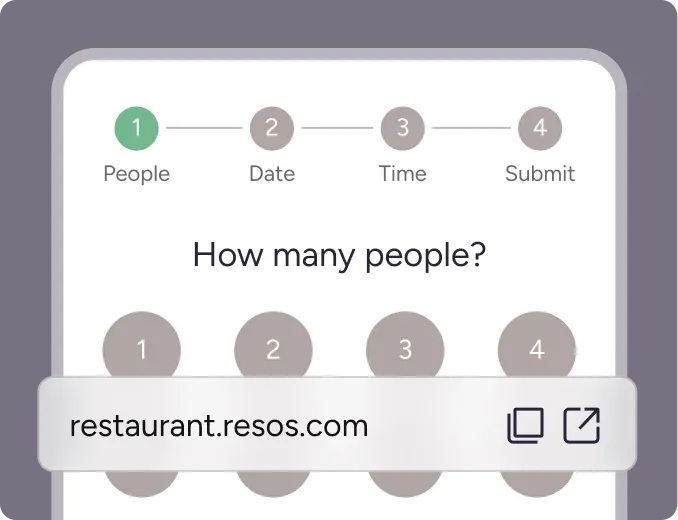
Add your booking link to your website and social media. No coding required.
A crowded entrance feels busy, but it quietly costs you tables. Guests who won’t queue in the rain leave. Guests who do queue block the hosts, slow the pass, and stress the whole room. A restaurant waitlist system gives your team one place to manage walk-ins and overflow, so the door stays calm and the dining room stays full.
Resos is a restaurant waitlist system built for the floor, not an automation that takes decisions out of your hands. Your host signs guests in, your floor manager decides who to call when a slot opens, and your team stays in control of who fits where.
A restaurant waitlist system is software that replaces the paper list at the host stand. It records each waiting party, their size, and a contact number, shows everyone who is waiting on the same screen as your reservations, and lets you convert a waiting party into a seated booking the moment a table opens. The point is not to automate seating, it is to give your team a clear, shared view of the door so no waiting guest is forgotten and no freed table sits empty.
In Resos, the waitlist and your bookings live in one overview. Anyone on the team, on any device, sees the same live picture of the evening.
Adding a guest takes about ten seconds. Tap a name, a party size, a phone number, and they’re on the list. The waitlist lives next to your bookings in the same overview, so your floor manager sees the whole evening at once: reservations, waitlist parties, and which tables are about to free up.
You decide the rules up front:
When a cancellation lands or a table turns faster than expected, the slot is yours to fill. Open the waitlist, pick the party that matches the slot (party size, allergies, timing), and convert them with one click. The entry turns into a real booking with the original notes and party size carried over. You keep full control over fit. A party of two on a four-top might not be the right call on a Saturday at 8pm, and the system doesn’t auto-assign that for you.
The waitlist isn’t a separate app, it sits next to your bookings in the same overview. Your floor manager sees the 7:45 four-top that hasn’t arrived, the walk-in couple hoping for 20 minutes, and the 8pm reservation all in one glance. Gaps between bookings get filled with the right waitlist parties because a human picks each one. Empty minutes turn into paying covers without the system making the call for you.
A waitlist system earns its place when it makes a busy night calmer and a quiet table rarer. With Resos you get:
Nobody opens a restaurant to manage queues. A restaurant waitlist system takes the frantic part out of walk-in management so your hosts can do what they’re good at: greet people, read the room, and send them in with a smile.
 For Restaurants
  For Cafés
  For Bars
  For Pubs
 Since we started using Resos, we have found the flexibility of the product and customer support incredible. It's very user friendly and easy to manage in-house which is a huge plus!
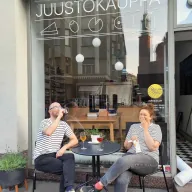
We have been using Resos as the booking platform for our cheese & wine bar in Helsinki, Finland, for over six months, and we are really impressed by it!
Once set up properly, Resos will run the whole booking seamlessly. Been trying many softwares and none has reached the level of customization and speed as Resos. And great support too!
The floor view is working very nicely, you can see everything at the same time. Also, it was a very huge upgrade for us, that the guests can easily cancel their booking – it saved us from a lot of no-shows.

Easy integration into our website and Google page.

Resos makes reservations so much easier. It's straightforward, flexible, and perfect for small businesses like ours. We're so happy with it!

What sets Resos.com apart is not just its ease of use, but also the proactive approach of the Resos team. They continuously work hard to introduce new features and add value to their product.
Simplicity when booking for the customer and easily accessible through our website, Facebook and Google.

When we started our search for a booking system, Resos was the obvious choice. Not only is it affordable for us as a small business, but also offers so many features that make our jobs easier.

Being able to make a reservation without too much hassle goes a long way! Resos keeps the process intuitive and simple.

A restaurant waitlist system is software that manages walk-ins and overflow guests in one place, so your team can see who is waiting, cap the queue at a sensible size, and seat the right party when a table frees up. In Resos the waitlist sits on the same screen as your reservations, so the whole evening is visible at a glance.
Yes. The waitlist is part of Resos, and the free plan covers up to 25 bookings a month. Paid plans (from EUR 23 / USD 24 a month) lift the booking limit as you grow, with no commission and no cover fees on any plan.
The waitlist captures each party's phone number so your host can reach them the moment a table opens. You stay in control of who gets called and when, rather than an algorithm deciding the order for you, which matters on a busy night when fit and timing are a judgment call.
Yes. When you seat a waiting party, you convert their waitlist entry into a booking with one tap, and their party size and notes carry over automatically. There is no re-typing, so the freed table is filled in seconds.
A paper list lives at the host stand, only one person can see it, and it disappears at the end of the night. A restaurant waitlist system sits next to your reservations on every device, keeps party sizes and notes, caps the queue, and turns a waiting guest into a booking without re-entering anything.
We take pride in offering industry leading fast, free and friendly customer service that takes the time needed to understand and help you.