The table planner (floor plan) feature provides a visual representation of your restaurant’s seating arrangement, allowing you to create and manage floor plans easily. This tool helps streamline table management and optimize guest allocation, improving the overall efficiency of your operations.
Read more about the Floor plan feature 👉 here.
Get started with setting up tables
Here are simple steps to set up your floor plan:
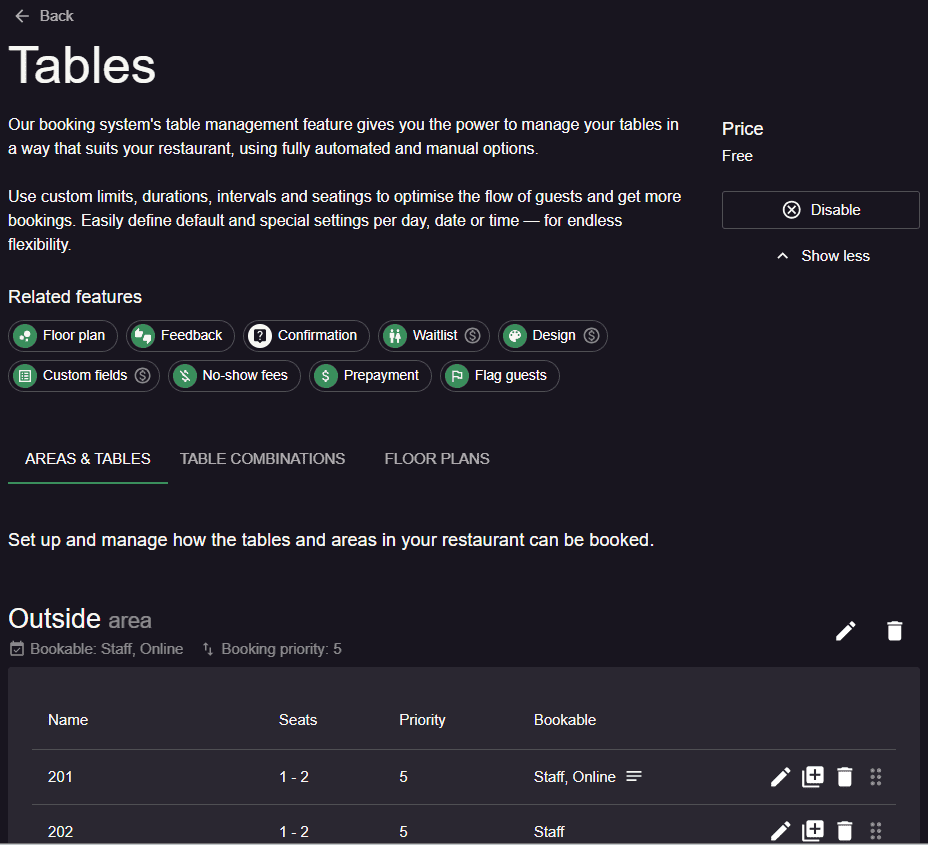
- Make sure you enable “Table management” by going to Menu–> Settings–>General –>Tables.
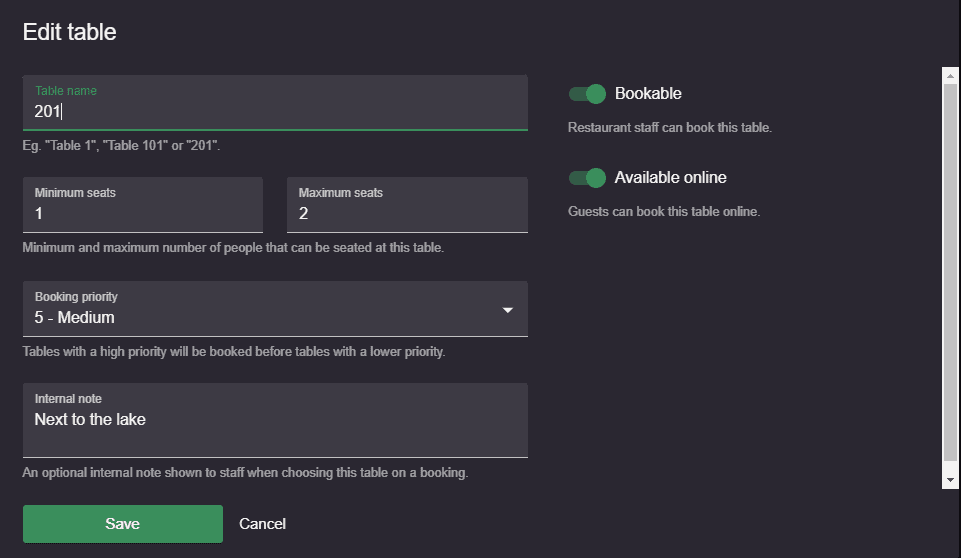
- Add areas and tables to your restaurant and set up the priority for both, as well as the minimum and maximum number of seats, internal and external notes, names as well as availability online and offline.
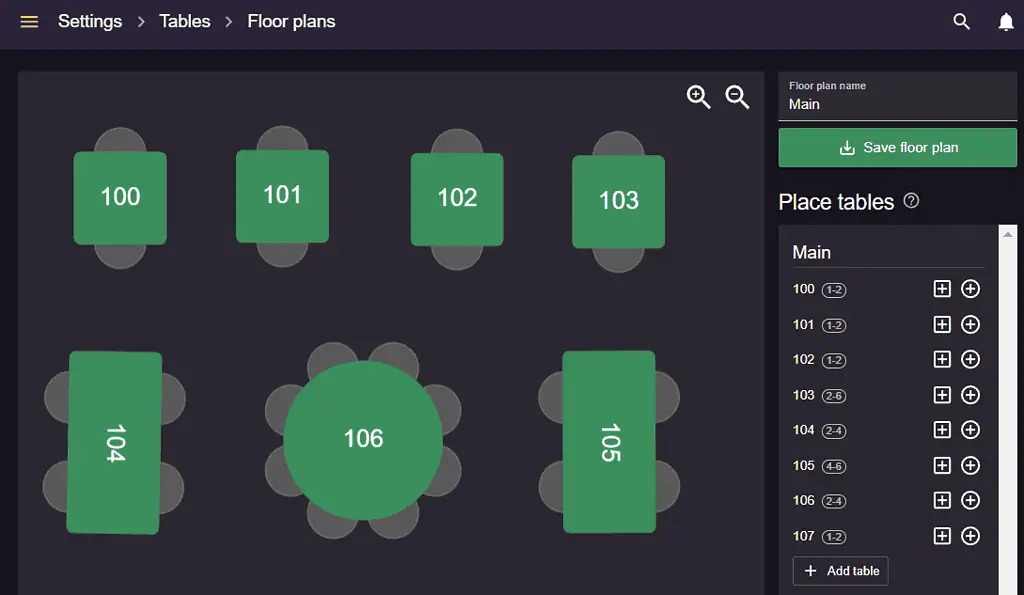
3. Go to Floor Plans: you should see your tables on the right side of the screen in a list, and you can use the drag-and-drop interface to position tables according to your restaurant’s layout. You can also zoom in/out and rotate tables for precise placement.
4. Click “Save floor plan” once all tables are arranged. You can choose to place tables as rectangles or round tables. It is also possible to rotate and precisely place tables as needed. To do this, click on a table, and settings will pop up on the right. Here, you can adjust the rotation as well as the x and y coordinates.
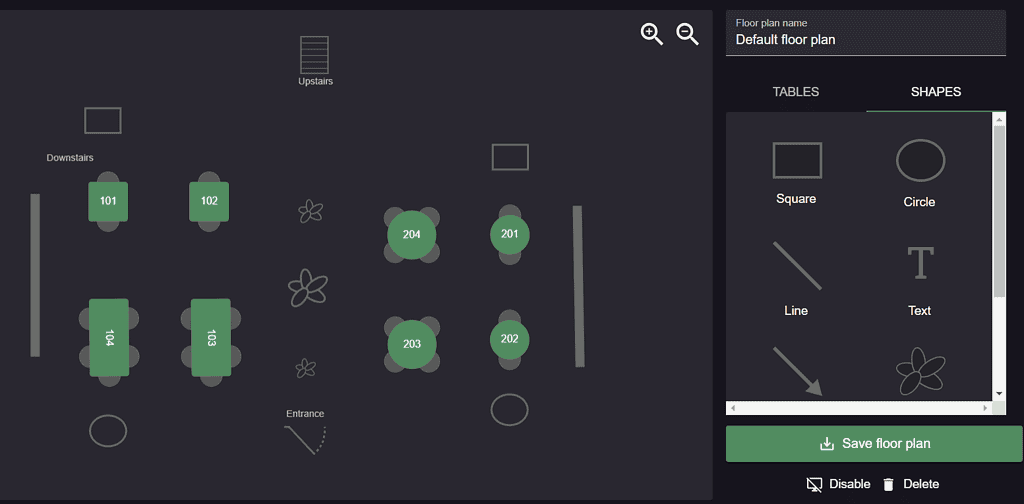
5. Add shapes to your floor plan to make it look more realistic and reflect the layout of your establishment. Here’s what you need to know about the floor plan shapes:
- Add custom shapes like lines, doors, stairs, plants and other fixtures to better represent your space.
- Drag, drop, and rotate shapes just like tables for a seamless setup.
- Improve team orientation by making the floor plan look more like your actual layout, reducing confusion for new staff and busy nights.
6. Create multiple floor plans if needed simply by clicking “+Add floor plan“.
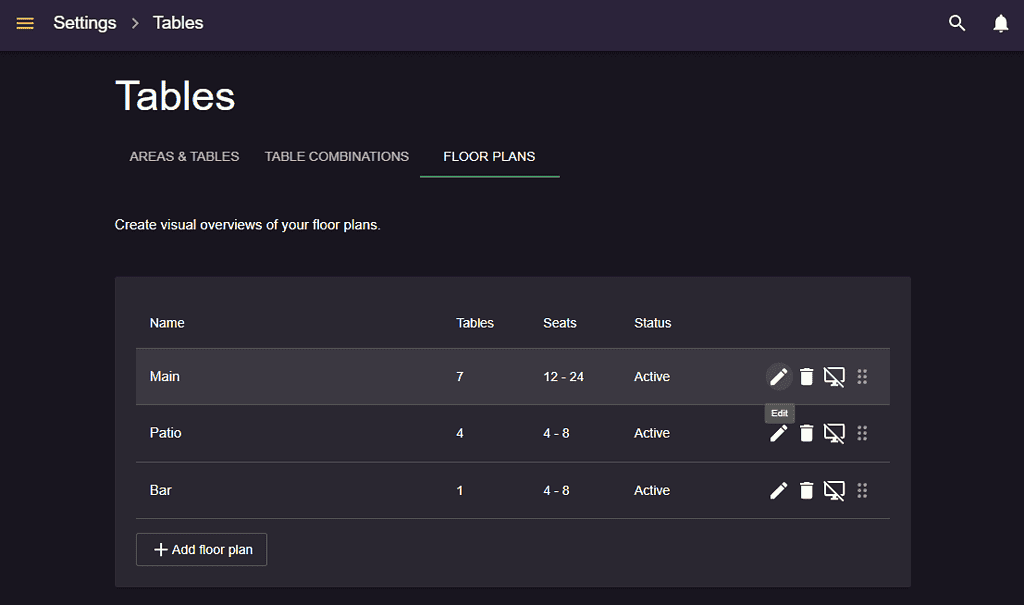
Use the table planner to view and manage bookings
Now you are ready to use the table planner in action. To access the visual floor plan, go to Menu–> Floor plan (on the left side of the screen).
The bookings will appear on the right, as shown in the picture below. You can see on the floor plan which booking is assigned to what table. You can choose which booking statuses to display on the right side. If you click on “Active“, and a drop-down menu will appear and the other booking statuses will show up.
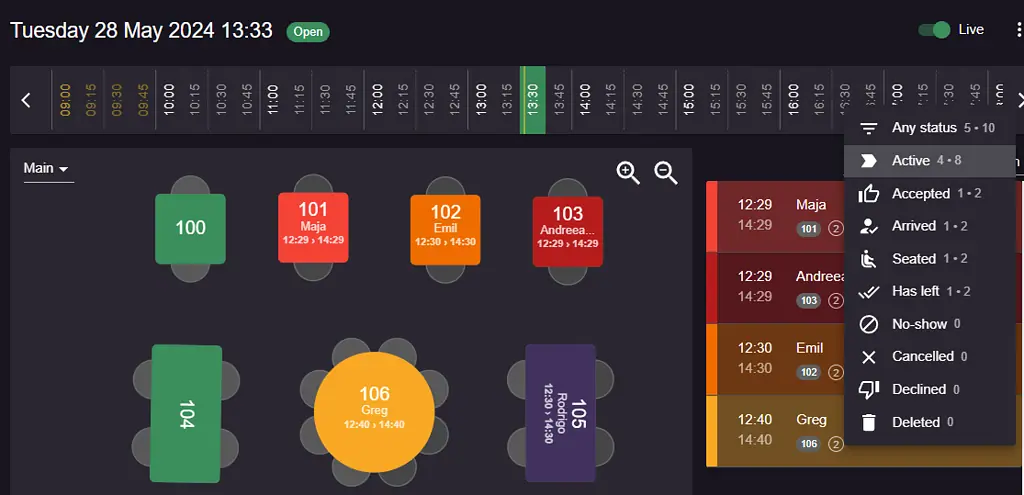
Read more about what the different booking status colors mean here.
It is also possible to adjust the view of bookings right next to the statuses of bookings. If you click on “All day“, you can select from options like current time + 2 hours, all day, rest of today, or until now. When a guest makes an online booking, it will show on the floor plan, indicating their assigned table (if the system automatically assigns tables).
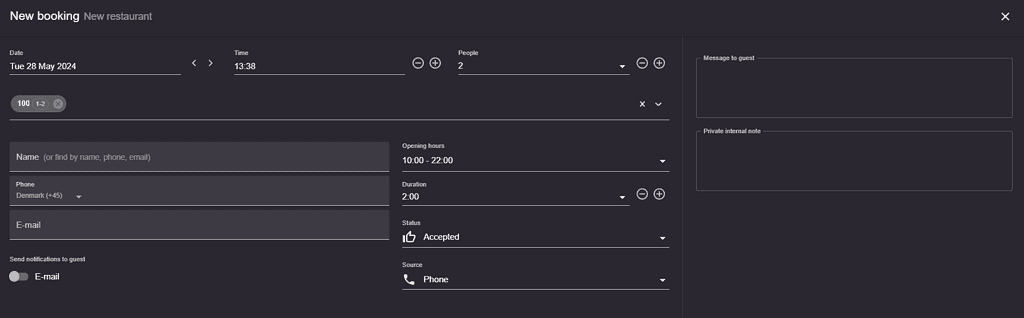
Creating a manual booking on the floor plan is super easy: click on a table, fill in the guest’s information on the New booking form, save it, and the guest receives a confirmation for that specific table.
If you have any questions about setting up your floor plans, we’re here to help! Feel free to contact us at [email protected]. We’re always ready to assist!