How to set up your restaurant on Resos
Setting up your restaurant on Resos is quick and easy. The system guides you through each step, so you're ready to take bookings in no time. Just follow these five simple steps.

-
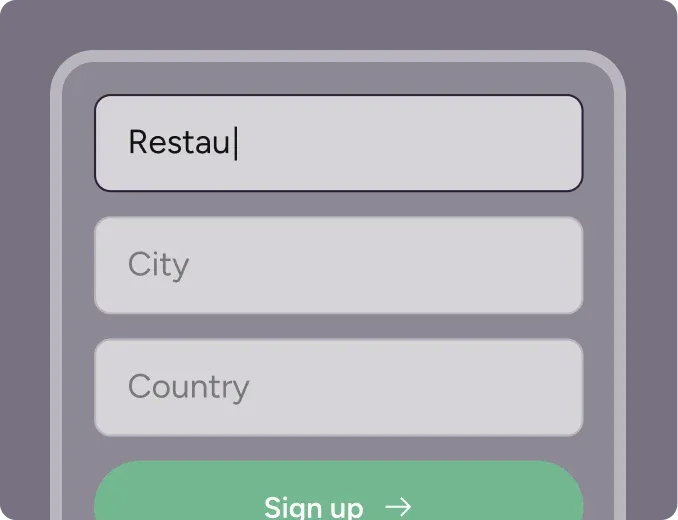
Create a profile for free
Click Get started for free and create your restaurant profile. Think of this as setting the stage for your guests: enter essentials like your restaurant's name, location, and contact information. No credit card needed.
-
Add opening hours
Next, set your restaurant's opening hours. Just like preparing your dining room for service, accurate hours let guests know when you're open and make sure reservations match your actual availability.
-
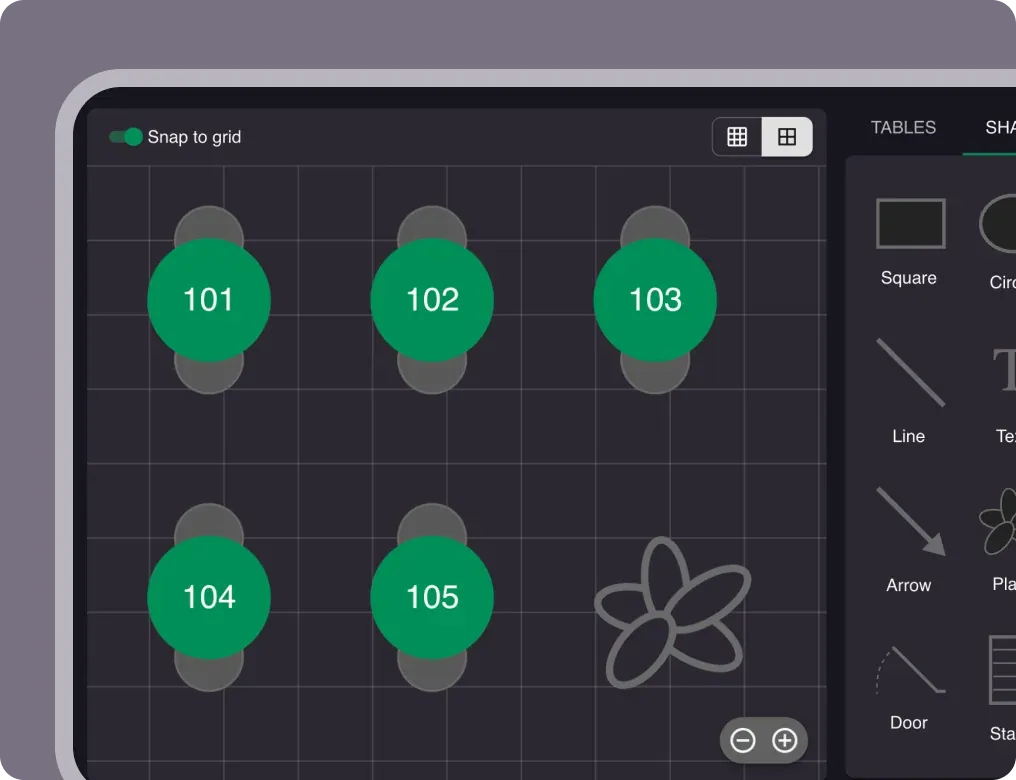
Add tables
Add the number of tables in your venue along with the seating capacity for each. No need to design the floor plan just yet, that can be configured later under Floor Plan. This basic setup makes sure every seat is accounted for.
-
Choose features
Select the features that fit how you work: guest feedback to understand your diners better, custom design to match your brand, or waitlists to keep service smooth. You can switch features on and off at any time.
-
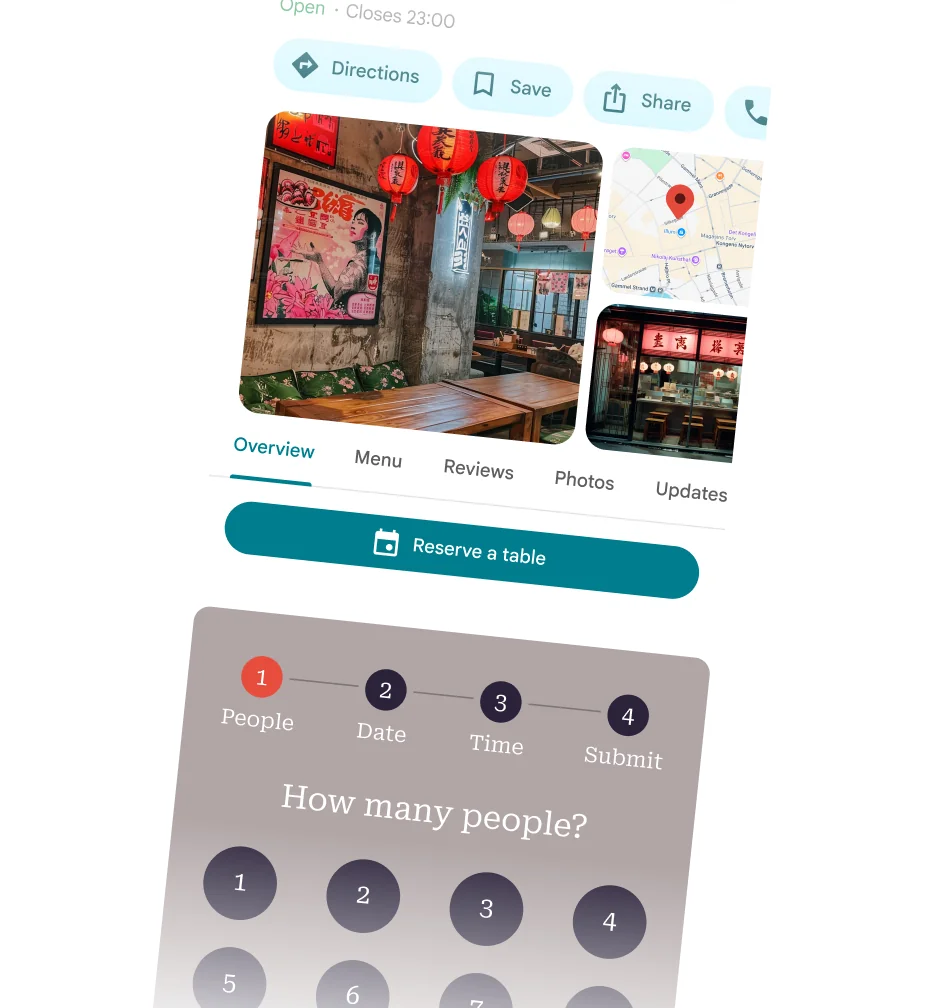
Get bookings
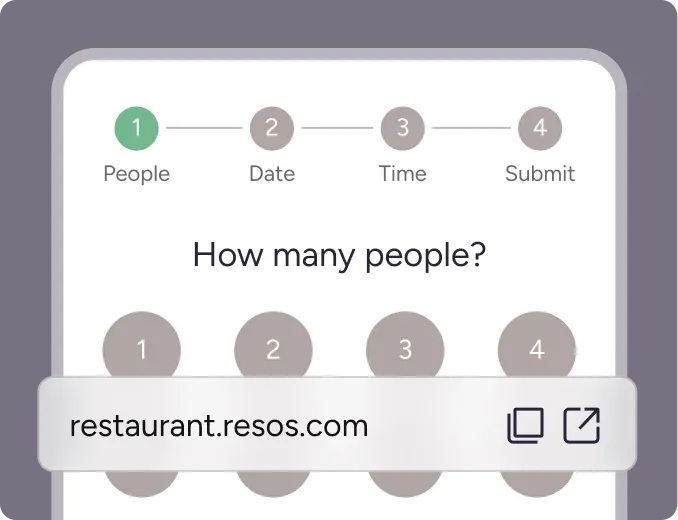
You're ready to welcome guests. Add the booking widget or link to your website and start taking reservations right away, while you focus on delivering exceptional hospitality.
Get even more from your setup
Once your setup is done, don't forget to add the booking widget to your website and activate Reserve with Google, so guests can book directly from Google Search and Maps.
Ready to grow?
The free plan includes 25 bookings per month. When your bookings outgrow it, pick a plan that fits your volume, with no commission and no cover fees. And if you have questions about setup or plans, our support team is happy to help at hi@resos.com.


What restaurants ask about Resos
How long does setup take?
Setup is usually under an hour. The whole process is self-serve, so you can sign up, adjust your settings, and start taking bookings the same day. You will find everything you need under Menu > Settings.
Do I need a credit card to start?
No. The free plan includes 25 bookings per month and does not require a credit card. You can register and start using resOS right away, then decide later whether a paid plan fits your needs.
Can I import my existing bookings?
Yes. A booking import tool brings over your existing bookings along with your guest data, so you do not have to start from scratch when you move to resOS.
Do I need a sales call or demo?
No. resOS is self-serve, so there is no required sales call or demo. You can set everything up on your own, and fast free support is included on every plan if you need a hand.
Set up your restaurant today
Sign up for free
Create your account in seconds. No credit card required.
Set up your restaurant
Add your opening hours, areas, and floor plan using our easy drag-and-drop editor.
Take your first booking
Add your booking link to your website and social media. No coding required.