The digital restaurant waitlist will help you optimize the whole waitlist process by automating most of it. A digital waitlist allows your guests to add themselves to a waitlist, and thus makes it easier for your staff to manage available tables. Avoid last-minute empty tables and overcrowded waiting lines at your restaurant. Keep reading to find out exactly how to get started with the waitlist feature.
How to activate the waitlist add-on
Just like all other resOS features, you can activate the add-on in the Settings section of your profile.
- Go to Menu.
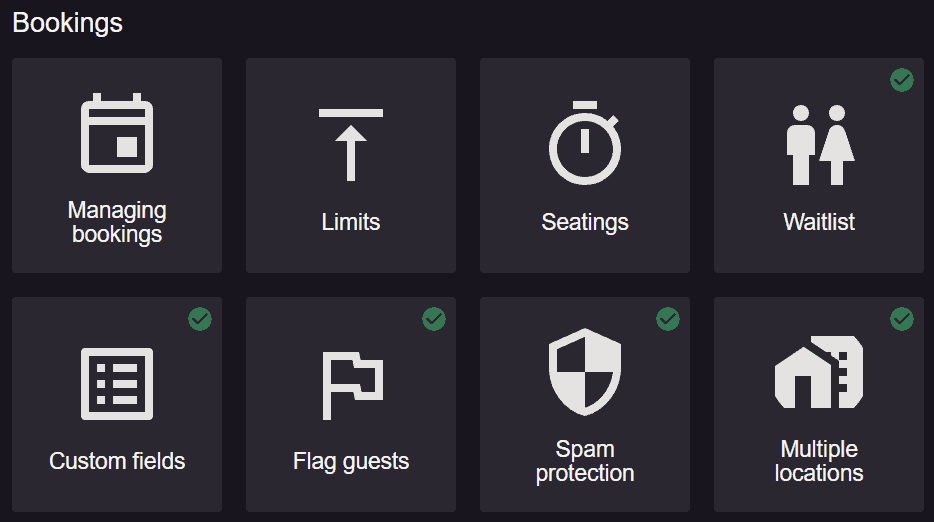
- Go to Settings –> Bookings.
- Activate the feature called “Waitlist“.
As soon as you click on “Activate” you will be redirected to the next step where you can choose your settings for the waitlist add-on.
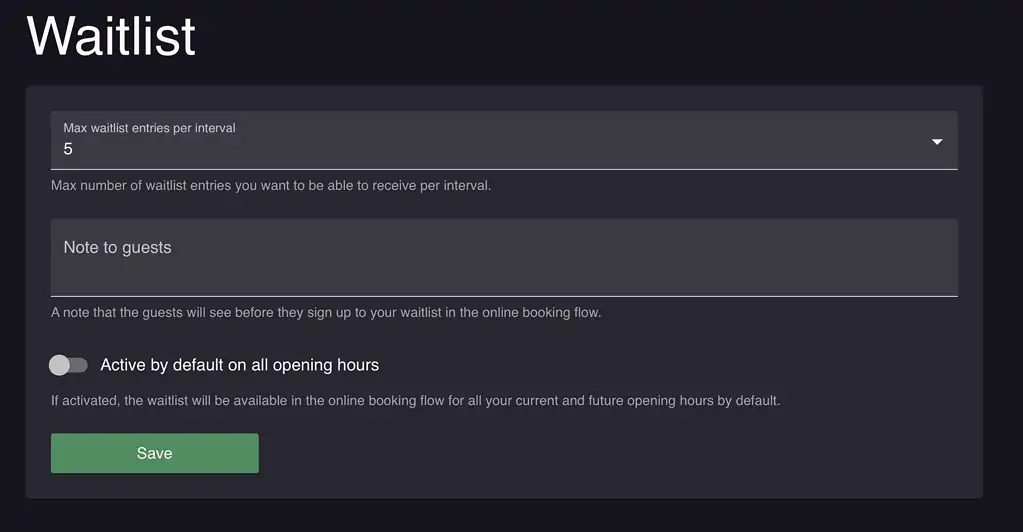
Max waitlist entries per interval – Choose how many waitlist entries per interval you would like to receive in order to avoid overcrowding the restaurant with too many people coming in at the same time.
Note to guests – Here you can add a note with information you want the guests to know in case they decide to join the waitlist. The guests will see the note on the online booking flow (page or widget).
Active by default on all opening hours – To make the add-on as flexible as possible, you have the choice, by default, to make the waitlist available for all your opening hours. In case you want that, all you have to do is enable this option. Otherwise, you can choose not to enable it and instead choose the specific opening hours you want the waitlist to be available for by going to Menu–> Settings–> General –> Opening hours.
Decide on which days and times the waitlist is available
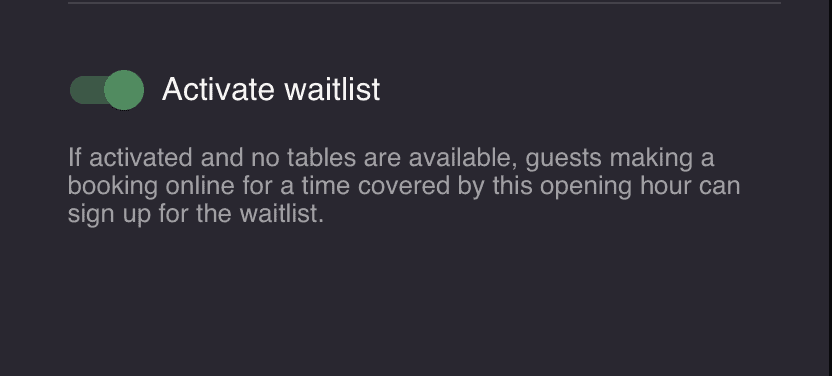
You can choose the dates and times you want to have a digital waitlist available for guests in the booking link and booking widget. If activated and no tables are available, guests making a booking online for a time covered by this opening hour can sign up for the waitlist. All you have to do is:
- Go to Menu–> Settings –> General –> Opening hours.
- Choose the opening hour that should have a waitlist.
- Scroll down to “Activate waitlist” and enable the option.
Get an easy overview of waitlist bookings
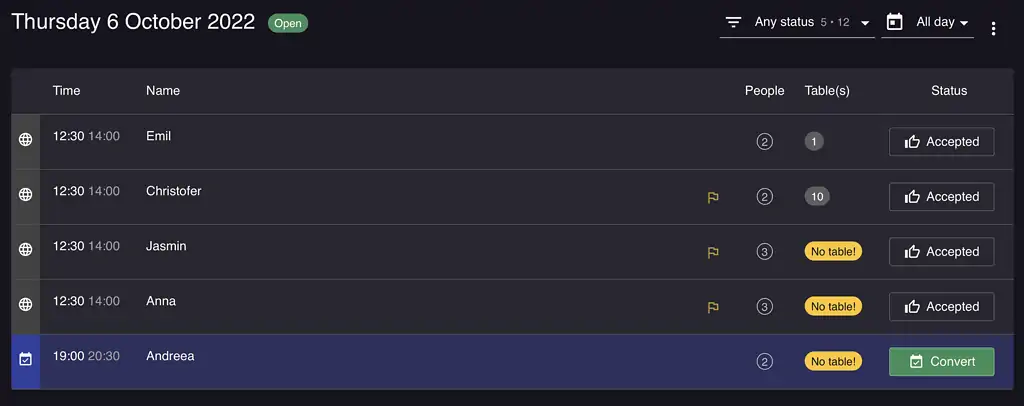
When guests sign up to be on a waitlist for a specific time, the request will automatically be added to the restaurants booking overview. The waitlist guests will shown on your schedule view, list view, calendar view and your floor plan, so you will always have an overview of how many waitlist bookings you have.
The waitlist bookings show with a blue color, and you will see the option to convert the bookings into regular bookings, and thus removing them from the waitlist. In the image below you can see that the booking from Andreea is a waitlist booking, and it is not converted, which means that Andreea is still waiting for a table.
Manually add guests to a waitlist
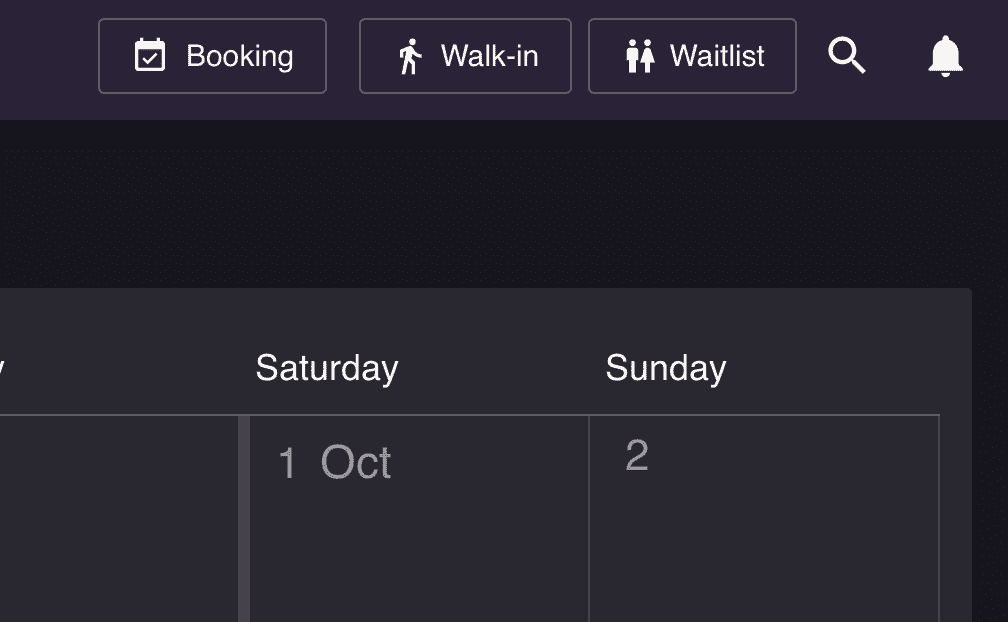
Just like you have the option to create a booking manually, and a walk-in, you can also manually add a guest to the waitlist. You simply need to go to Menu–> Calendar –> Bookings to do that.
Automatically notify the guest when a table is ready
As soon as a guest signs up to be on a waitlist, the guest will automatically receive a notification on SMS and/or email that confirms that they have been added to the waitlist. When you convert a waitlist booking to be a standard booking, the guest will automatically receive a notification with a booking confirmation. The guest will know that they have a table at the requested time, and they will automatically be removed from the waitlist.
Check out this article about how the guests sign up to the waitlist 
Need to know
Please note that pre-payments and no-show fees are charged automatically for bookings converted from the waitlist, but they can be added manually.
The waitlist feature is a paid add-on paired with a paid plan (but it’s free on the Free plan). You can check out its prices here.
The support team at resOS is always ready to help you with any questions or issues you may have about the system. Do not hesitate to contact us at [email protected], and we will make sure to help you get started in the best way possible. We look forward to hearing from you.