How to set up the multiple locations add-on
In this article

How does the multiple locations add-on work?
The multi-location add-on works by seamlessly connecting and integrating all your restaurant locations into a unified system. Once activated, this feature enables you to effortlessly manage and showcase multiple locations from a centralized dashboard. It provides a user-friendly interface that allows guests to easily navigate between your different venues, check availability, and create bookings conveniently.
By integrating the multi-location add-on into your system, you can effectively promote your diverse dining options, increase customer awareness, and drive more bookings across all your establishments. Whether you have a few locations or a rapidly expanding chain, this feature is scalable and adaptable to cater to the evolving needs of your growing restaurant business.
This feature is a paid add-on when used with one of the Resos paid plans. You can read more about its pricing here.
How to activate the multiple locations feature
Setting up the multiple locations add-on is a breeze. We have provided a clear and concise guide below to set it up. Follow the instructions carefully, and you’ll have the multi-location feature up and running in no time. Choose the option that works best for you and get ready to enhance your restaurant’s online presence and maximize your bookings across multiple locations.
Instructions:
-
Access your dashboard: Log in to your account and navigate to the Menu.
-
Go to Settings: Look for “Bookings” in the Settings section. Click on it to proceed.
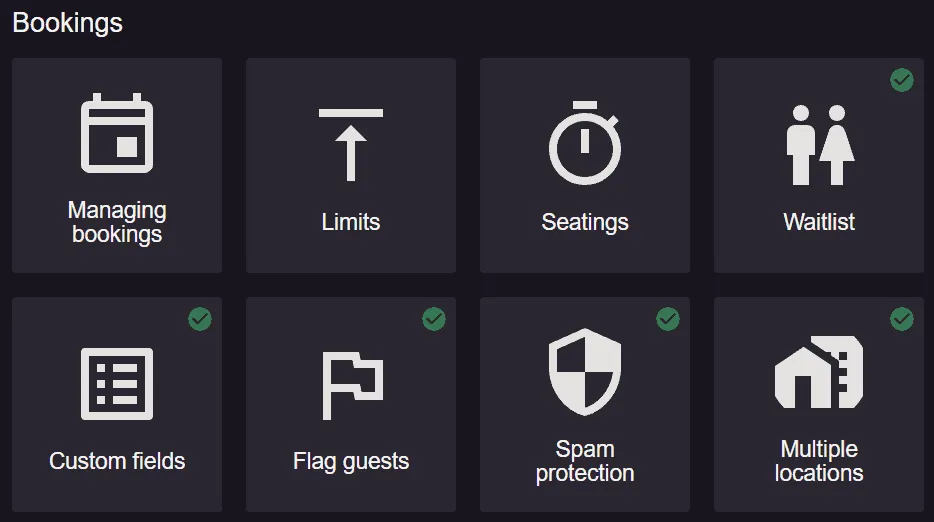
- Locate Multiple locations: Once you’ve found the Multiple-locations add-on, click on it to access its settings. Look for the activation option and enable it to activate the feature.
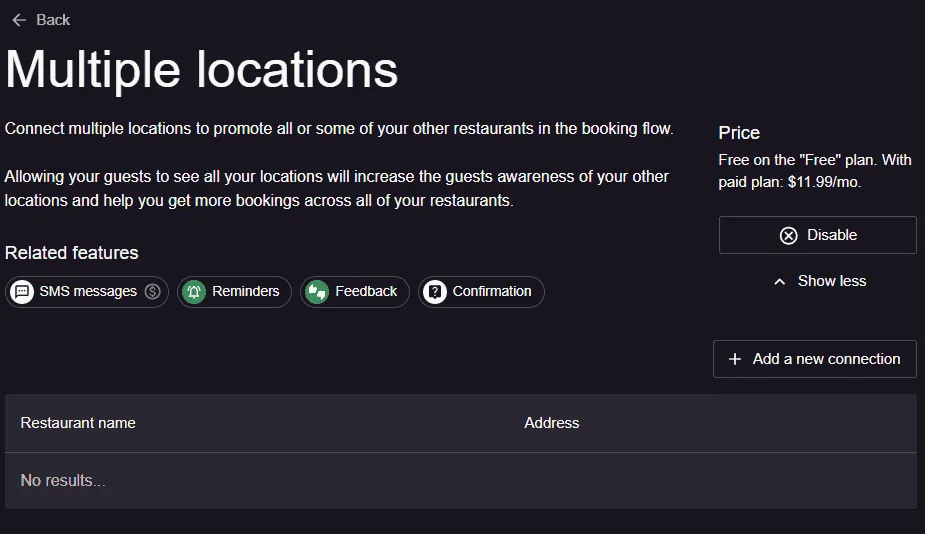
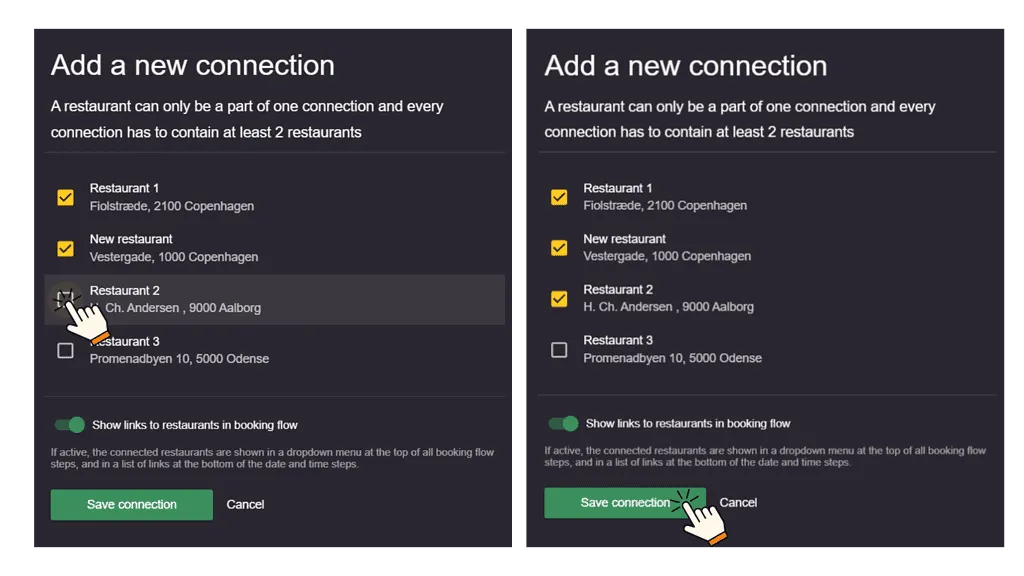
- Add a new connection: In the settings window, you’ll find a button labeled “+ Add New Connection”. Click on it to initiate the process of adding a new restaurant connection.
- Select restaurants: A pop-up window will appear, presenting you with a list of available restaurants that can be integrated into the multi-location dashboard booking system. Choose the restaurants you want to include by selecting them from the list.
- Save the connection: After selecting the desired restaurants, locate the “Save connection” button.
How to switch between locations on Resos
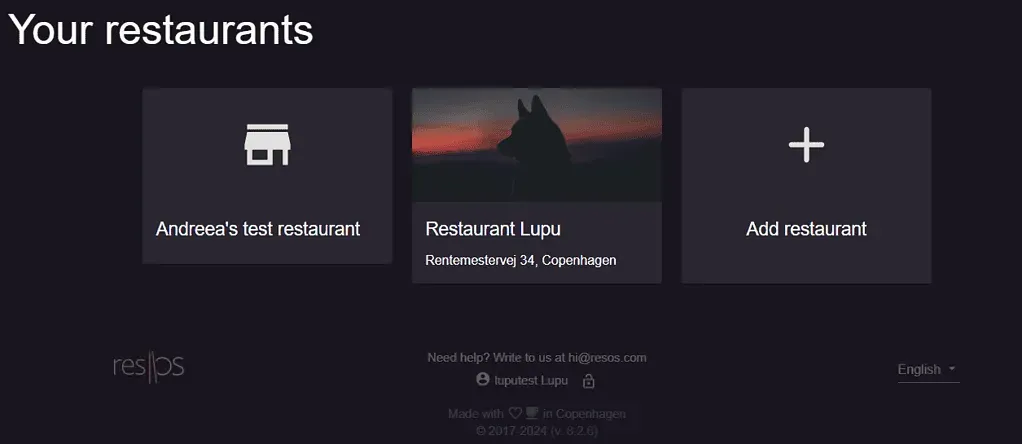
Now that you created multiple profiles on Resos for each location you have, we made sure you have a very simple way to switch the profiles so that you can manage them in an efficient way. In order to do so, you have to go to Menu—> Your restaurants (the last section on the Menu), and then you should be able to see an overview of all your profiles.
If you require assistance with setting up the multiple locations add-on, our support team is here to help. We are available to address any queries or concerns you may have about the system. Don’t hesitate to reach out to us at hi@resos.com, and we will gladly assist you in getting started smoothly. We are eager to hear from you and provide the best possible support.