


How to set up table management
What is table management?
Table management is designed to streamline the process of managing tables within your restaurant. This feature allows for real-time table tracking, reservation management, and seating optimization, ensuring that your restaurant can maximize efficiency and guest satisfaction.
From visual floor plans to guest seating preferences, table management provides a comprehensive solution to handle the dynamic and fast-paced environment of your restaurant. With its user-friendly interface, managing your restaurant’s layout and reservations has never been easier or more efficient.
Steps for setting up the Table management feature
To enable table management, there are two simple steps:
1. Log in to your Resos profile, and select Menu → Settings & add-ons → Bookings → Managing bookings.
In the New online bookings section, you can specify whether you want to manually confirm bookings or if you prefer bookings to be confirmed automatically. If you opt for reservations to be confirmed automatically, guests will only be able to book the available times (booking slots) on your booking page. The bookings will then be automatically confirmed in the system.
Table management is a free feature included with every plan, not a paid add-on, and it has to be switched on before you can choose how tables are used. Go to Menu → Settings & add-ons → General → Tables, open More in the introduction at the top of that page, and click Activate. The same place shows Disable once the add-on is on. Activating it also sets bookings to get their tables automatically, and disabling it sets Don’t use table management.
The Managing tables dropdown in the New online bookings section is where you then pick the mode. Add table(s) to bookings automatically and Manually add table(s) to bookings both keep table management on, and Don’t use table management turns it off. The dropdown is only shown while the add-on is active, so if you cannot find it, activate the add-on first.
2. Select the combination of table management that suits you the most.
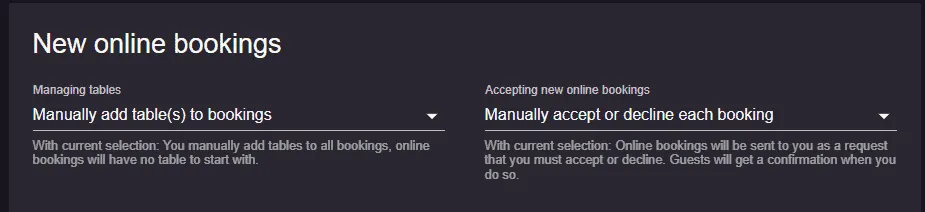
Manual table management: Enable manual table assignment for all bookings. Initially, online bookings won’t have any table assigned, allowing you to select the most suitable tables for confirmed bookings manually.
Adjust your system settings to receive online booking requests. Review each request and choose to accept or decline it. Guests will be notified of your decision. You’ll receive notifications for all booking requests, and for confirmed ones, manually assigned tables.
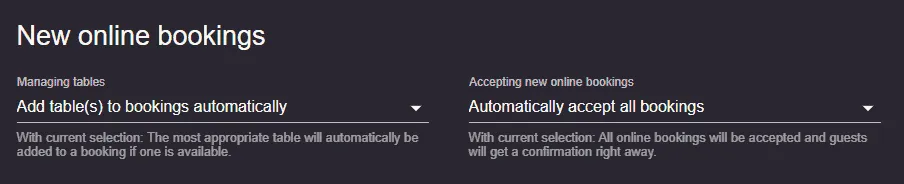
Automating table management: To optimize the table allocation process, enable the automatic table management feature. This ensures that the most appropriate table is automatically assigned to a booking if one is available, based on the selected Table assignment strategy: choose Optimized fit (default), which selects the best-fitting available table, or Priority-first (legacy), which prioritizes tables and areas based on their configured priorities. This setup streamlines operations and improves the guest experience by minimizing wait times.
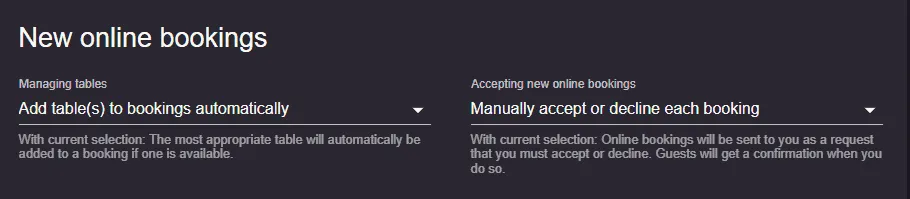
Auto-assign tables with manual booking confirmation: You can either add tables to bookings automatically or manually add tables to bookings, but you will manually approve or decline the reservation.
Read more about table management and its benefits here.
We hope that this guide about setting up table management for your restaurant has been useful. If you have any questions, please do not hesitate to contact us on hi@resos.com.


