How to set up Meta Pixel and Conversions API with Resos
In this article
This guide shows you how to connect your Meta (Facebook) Pixel and the Meta Conversions API (CAPI) to your Resos booking page, so booking events appear in Meta Events Manager.
What it does
When configured, every booking step (page views, guest selection, date/time picks, and completed bookings) is sent to Meta. This lets you:
- Build retargeting audiences from visitors who started but didn’t complete a booking
- Measure ad conversions when a booking is completed
- Use Meta’s advanced matching to improve attribution accuracy
Resos sends each event in two ways:
- Browser Pixel – the classic client-side Pixel, fired from the visitor’s browser.
- Conversions API (CAPI) – the same event sent server-side, directly from Resos to Meta.
Both messages share an event ID, so Meta deduplicates them: you get one event, not two. Sending server-side as well means conversions still reach Meta when an ad blocker, a tracking-prevention browser (such as Safari with ITP), or a lost cookie would otherwise drop the browser Pixel. The result is more complete, more accurate ad measurement.
Prerequisites
- The Marketing & Analytics add-on must be activated. See How to set up Marketing & Analytics.
- A Meta Pixel (Dataset) set up in Meta Events Manager
Steps
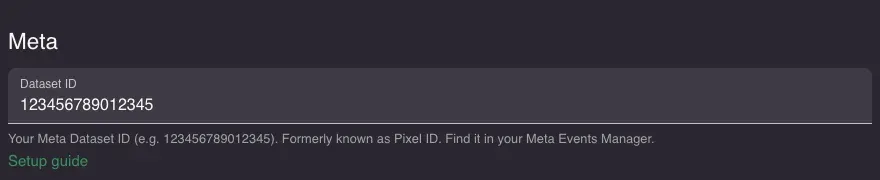
1. Find your Dataset ID in Meta
- Go to Meta Events Manager
- Select your Pixel (or create one if you haven’t already)
- Copy the Dataset ID – a numeric string like
123456789012345. This was formerly called the “Pixel ID”.
2. Generate a Conversions API access token in Meta
The access token is what authorizes Resos to send events to Meta server-side. Without it, only the browser Pixel runs and the Conversions API stays off.
- In Meta Events Manager, open Data Sources and select your Pixel
- Go to Settings
- Scroll to the Conversions API section and choose Generate access token
- Copy the token. Treat it like a password and don’t share it.
3. Enter your details in Resos
- Go to Settings > Add-ons > Marketing & Analytics in your Resos dashboard
- In the Meta section, fill in:
- Dataset ID – the numeric ID from step 1
- Meta Access Token – the token from step 2
- Click Save
Your access token is stored securely. After you save it, the field shows dots instead of the token. To change it later, click the field and paste a new token.
Tip: Enter both the Dataset ID and the access token. With only the Dataset ID, events are still tracked through the browser Pixel, but the server-side Conversions API will not run.
4. (Optional) Add a Test Event Code while you verify
The Test Event Code field lets you confirm that server-side events are arriving before you go live.
- In Meta Events Manager, go to Test Events and copy the test code shown there
- Paste it into the Test Event Code field in the Resos Meta section and save
- Interact with your booking page – events tagged with this code appear under Test Events in real time
- Once you’ve confirmed events arrive, clear the Test Event Code field and save again, so live traffic is no longer flagged as test data
Advanced matching
When a visitor completes a booking, their email and phone number (and, where available, name and country) are sent to Meta to improve match quality – but only if the visitor has granted marketing consent via the cookie consent banner. These fields are hashed in the visitor’s browser before they are sent, so Meta only ever receives the hashed values.
If marketing consent is not granted, events are still tracked but without personal data.
Verify it worked
- Open your booking page in a browser
- Open the browser console, run
resos.debug(), and reload – then look for[Meta Pixel]entries as you click through the booking steps. These cover both the browser Pixel and the Conversions API. - In Meta Events Manager, go to Test Events and check that events appear when you interact with the booking widget. If you added a Test Event Code in step 4, your events show up here straight away.