Why should you use a digital restaurant waitlist?
- Self-service sign-up: Enhances guest autonomy and streamlines your workflow.
- Staff empowerment: Allows effortless guest additions to the waitlist.
- Instant notifications: Keeps guests informed, improving their experience and your table management.

How does the digital restaurant waitlist work?
The restaurant waitlist feature will help you avoid last minute empty tables at your restaurant, and ensures that all your guests are happy while your staff can focus on delivering the best customer service.
By activating the waitlist feature, you can allow guests to sign up for the waitlist in the online booking flow when you are fully booked, or do it yourself through the app.
You decide on which days and times the waitlist is available if fully booked, and how many entries can be on the waitlist per interval. When a table becomes available, and you have confirmed that someone on the waitlist wants it, it only takes a few clicks to drag the booking from the waitlist to the available table.
Easily convert waitlist guests to a standard booking
Our digital waitlist feature is designed to prevent last-minute vacancies and maximize guest satisfaction. With easy online sign-ups and strategic waitlist management, your staff can focus on what they do best — delivering exceptional service.
You control the waitlist’s availability, ensuring flexibility and efficiency in your booking process. Converting waitlist entries into confirmed bookings is just a click away, reducing the need for manual follow-ups.
How the guest signs up for the waitlist — step by step
- Choose a time: Guests select their preferred dining time and are informed about the waitlist option right on the booking page.
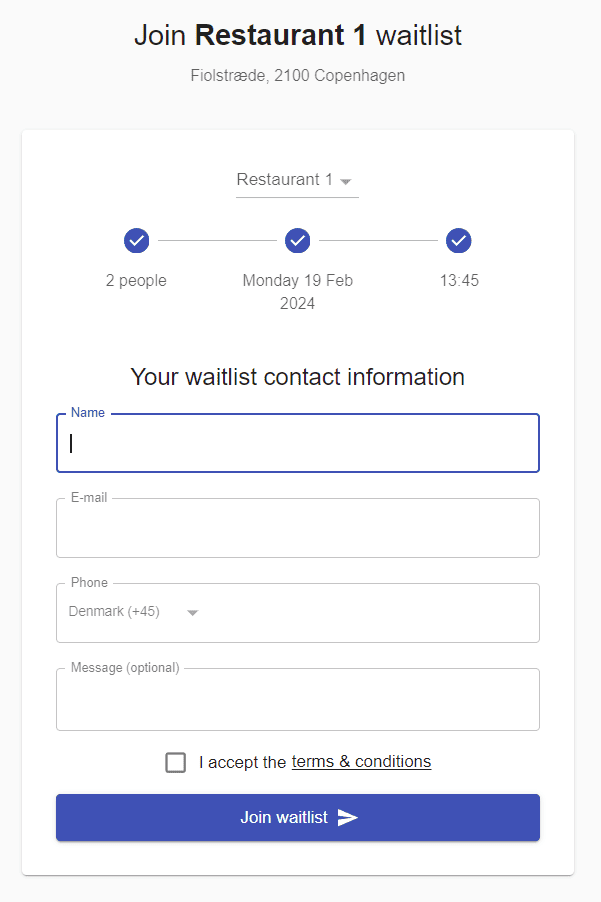
- Provide contact info: Essential details are captured for communication ease.
- Confirmation: Guests receive immediate confirmation of their waitlist status, with options to cancel if plans change.
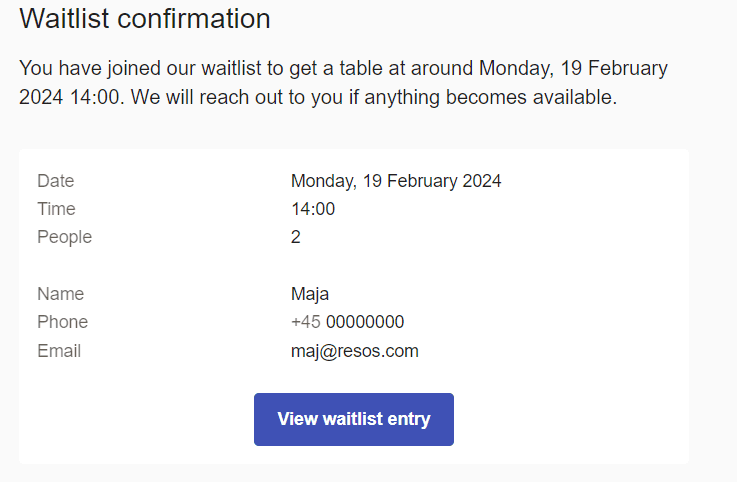
- Stay updated: Automated notifications keep guests informed every step of the way, culminating in a seamless booking confirmation once a table becomes available.
💡 Here is a guide for how to get started with the waitlist feature
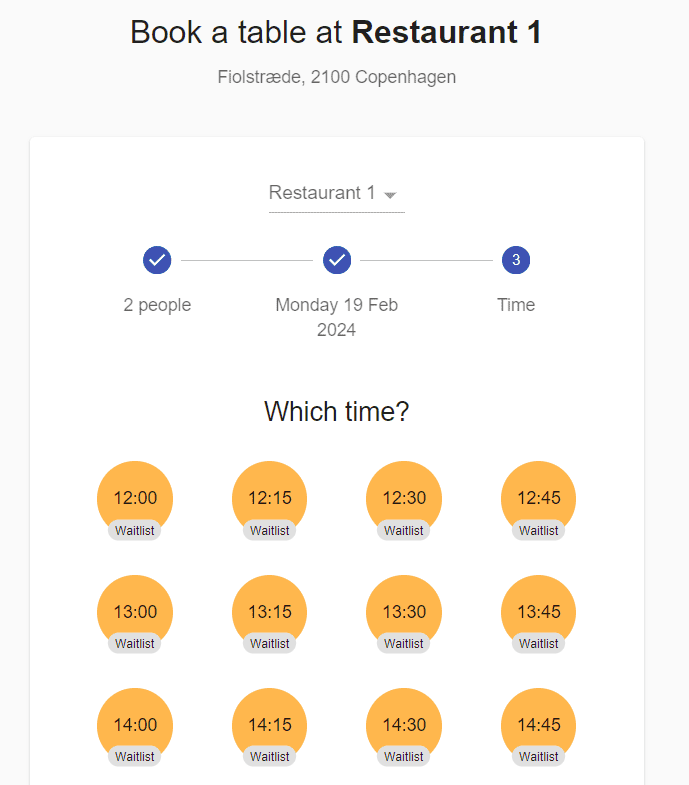
Step 1. Guests chooses a preferred time
Clearly indicate that this time is a waitlist time that the guest can sign up to directly via the booking form and widget.
Step 2. Adding contact information
The guest adds the information required for the restaurant to reach out to the guests when there is an available table.
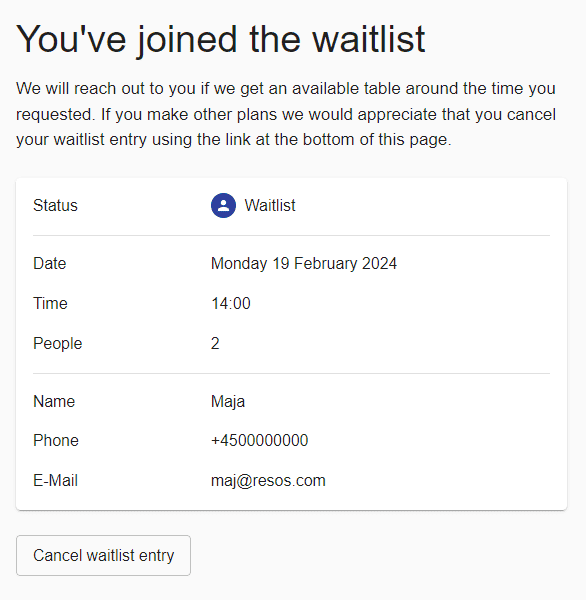
Step 3. The guest is added to the waitlist
By the end of booking flow, the guest will receive a confirmation that they have been added to the waitlist. Guest can also cancel waitlist entry.
Step 4. Guest receives an update notification
A notification will automatically be sent to the guest confirming that they have been added to the waitlist.
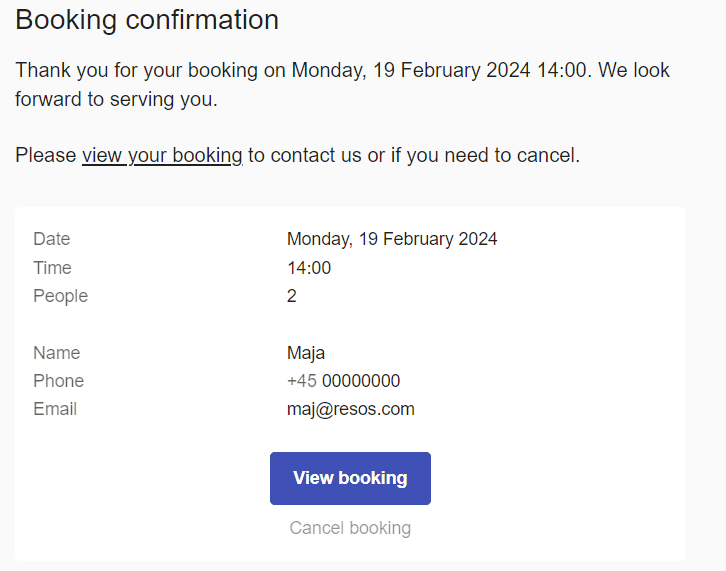
Step 5. Guest receives a booking confirmation
Once you have an available table, you can convert the waitlist guest to a regular booking and send a confirmation.
👉 Check out also the no-show management feature that helps you reduce no-shows 
Do you have any questions about the digital restaurant waitlist?
Get started now
Ready to revolutionize your restaurant’s waitlist management? Dive into our digital solution and discover how effortless managing guest expectations can be. For any questions or to explore more features like no-show management, reach out to us at [email protected]. We’re excited to help you elevate your guest experience.
